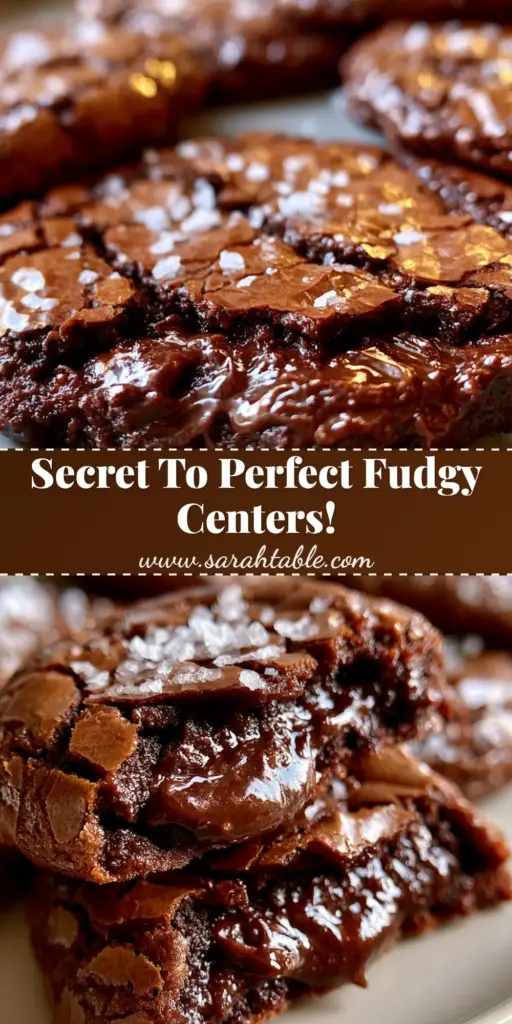
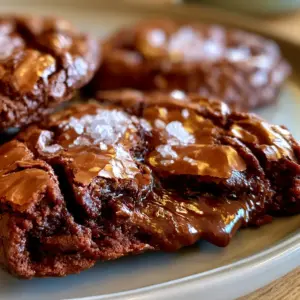
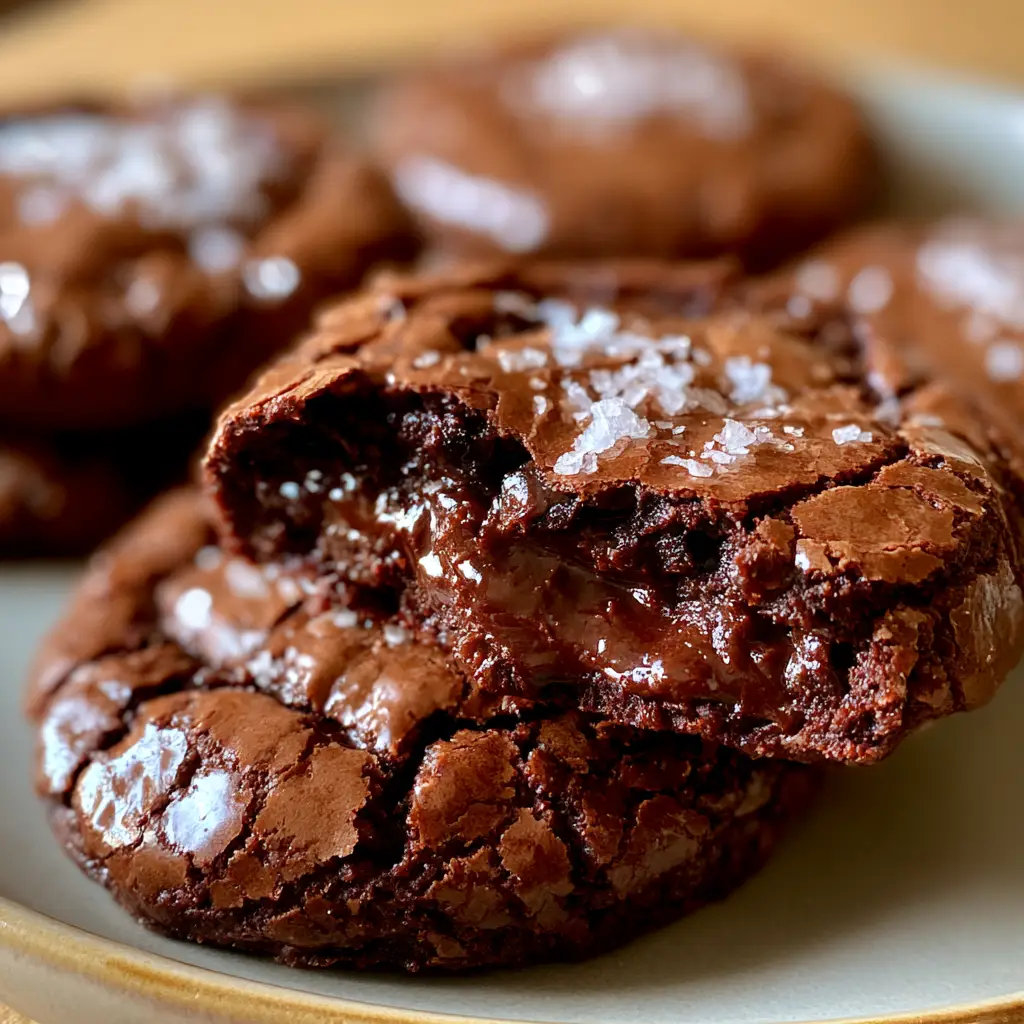
If you are searching for the ultimate decadent treat, these brownie cookies are the absolute pinnacle of chocolate perfection. Combining the best elements of a rich, fudgy brownie with the portable convenience of a handheld cookie, this recipe delivers a dramatic sensory experience. You will get a gorgeous, paper-thin, highly glossy cracked chocolate cookie crust that gives way to an ultra-soft gooey fudgy chocolate center.
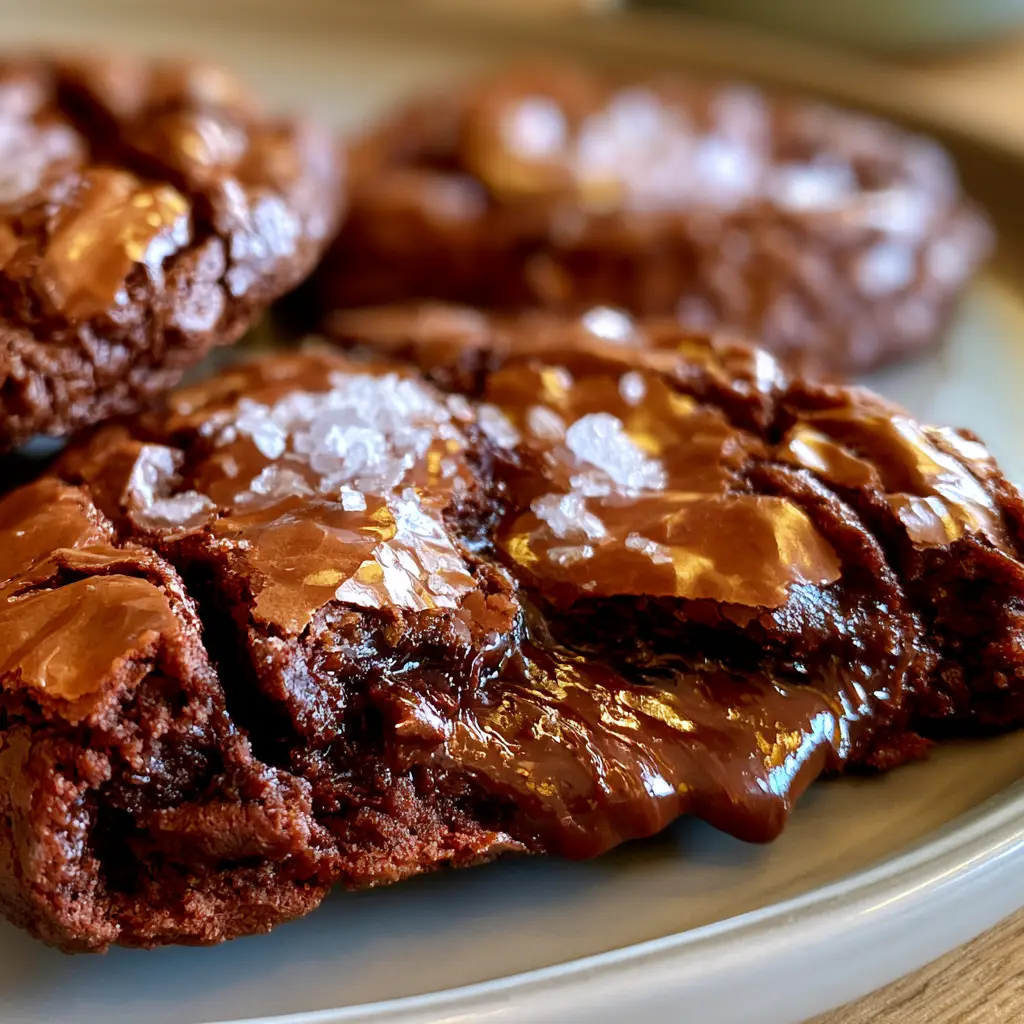
When you pull these beautiful treats out of the oven, you will immediately notice the deep, rich crevices running across the surface. These cracked crevices reveal a dense, melt-in-your-mouth interior that feels exactly like a perfectly baked tray of premium brownies. Top them off with a light dusting of flaky sea salt garnish and watch as melted chocolate pools form right on top, creating an irresistible visual look that dominates Pinterest feeds.
Whether you are an experienced baker or just looking to satisfy an intense chocolate craving, this step-by-step guide ensures a flawless bake on your very first try. Unlike traditional cookie dough that requires hours of chilling in the refrigerator, this specialized batter relies on simple food science and precise timing to create its signature crinkle texture. Get ready to elevate your baking game with a dessert that tastes even better than it looks.
Why You Will Absolutely Love This Viral Chocolate Hybrid
- The Perfect Texture Contrast: Enjoy an ultra-satisfying crunch from the paper-thin, highly glossy cracked chocolate cookie crust that immediately melts into a dense, soft gooey fudgy chocolate center.
- No Chilling Time Required: Unlike other premium cookie recipes, this batter must be scooped and baked immediately while warm to secure that signature shiny, crinkled surface.
- Intense Chocolate Depth: By combining melted bittersweet chocolate with rich Dutch-processed cocoa powder, we achieve a multidimensional chocolate flavor profile that far surpasses standard chocolate cookies.
- Stunning Pinterest Visuals: The striking aesthetic of dark cracked crevices, glistening melted chocolate pools, and a delicate flaky sea salt garnish makes these the star of any dessert table or social media feed.
The Secret Science Behind the Glossy Cracked Chocolate Cookie Crust
To successfully achieve that iconic paper-thin, highly glossy crinkled chocolate crust, we must look closely at baking science. The beautiful shiny skin on top of these brownie cookies is actually a very thin, delicate layer of meringue. This unique structure forms when the proteins in the eggs bond perfectly with the dissolved sugars during the whipping process.
If you want a highly reflective, crinkled surface, you absolutely cannot skip the vigorous whipping of the eggs and sugars. We must beat the large eggs, granulated white sugar, and light brown sugar together for at least five full minutes until the mixture turns pale, thick, and forms ribbons. This process completely dissolves the sugar crystals, allowing them to rise to the surface during baking and create that magnificent cracked look.
If you have ever made premium cocoa fudge brownies from scratch, you already know how crucial this step is for achieving that signature top layer. Skipping or shortening the whipping phase will result in a matte, dull cookie surface that lacks the professional, photo-ready crinkles we want. Temperature control is also vital; the melted chocolate and butter mixture must still be warm when folded into your whipped egg base.
The Ultimate Brownie Cookies Ingredient Breakdown
Creating the perfect chocolate hybrid requires high-quality, balanced ingredients. Each component in this recipe plays a vital role in balancing structure, moisture, fat, and intense chocolate flavor.
Bittersweet Chocolate: You will need 8 ounces (225g) of high-quality bittersweet chocolate (60% to 70% cacao), chopped into uniform pieces. Half of this will be melted smoothly with the butter to build the rich base, while the remaining half is folded in as chunks to create beautiful melted chocolate pools across the top.
Unsalted Butter: You will need 1/2 cup (115g) of unsalted butter to provide the essential fat that keeps the cookie center soft, rich, and intensely fudgy. Butter also helps carry the deep chocolate flavors uniformly throughout the entire batter.
Large Eggs: You will need 2 large eggs, which must be kept at room temperature before mixing. Room temperature eggs whip up to a much higher volume than cold eggs, which is absolutely critical for building our shiny meringue crust.
Granulated White Sugar: You will need 3/4 cup (150g) of white sugar to react beautifully with the egg proteins, ensuring the creation of that paper-thin, highly glossy crust.
Light Brown Sugar: You will need 1/4 cup (50g) of packed light brown sugar to add a hint of molasses flavor and provide the necessary moisture that keeps the core incredibly gooey.
All-Purpose Flour: You will need 1 cup (125g) of all-purpose flour to provide just enough gluten structure to hold the cookies together without making them cakey or dry.
Dutch-Processed Cocoa Powder: You will need 1/4 cup (25g) of Dutch-processed cocoa powder to deliver a deep, dark color and a smooth, mellow chocolate flavor that enhances the melted chocolate chunks.
Baking Powder: You will need 1 teaspoon (5ml) of baking powder to provide a swift, chemical lift during the initial minutes of baking, forcing the cookie to expand rapidly and crack its delicate surface.
Fine Sea Salt: You will need 1/4 teaspoon (1.5g) of fine sea salt mixed directly into the dry ingredients to balance out the intense sweetness and amplify the rich chocolate notes.
Pure Vanilla Extract: You will need 1 teaspoon (5ml) of high-quality vanilla extract to deepen the overall flavor profile of the dough and give it a professional finish.
Flaky Sea Salt Garnish: You will need 1 tablespoon (6g) of large flaky sea salt crystals to sprinkle over the hot cookies instantly as they exit the oven, adding a bright, briny contrast to the rich chocolate pools.
Step-by-Step Blueprint for Perfect Crinkle Cookies
Step 1: Melting the Rich Chocolate Base
Begin by preheating your oven to 350°F (175°C) and lining two large, heavy baking sheets with high-quality parchment paper. In a medium heatproof bowl set over a pot of gently simmering water, combine 4 ounces (112g) of the chopped bittersweet chocolate and 1/2 cup (115g) of unsalted butter. Stir the mixture continuously with a heatproof spatula until completely smooth, glossy, and melted, then remove it from the heat to cool slightly while remaining warm.
Step 2: Whipping the Eggs and Sugars for the Meringue Crust
In the bowl of a stand mixer fitted with the whisk attachment, add the 2 large room-temperature eggs, 3/4 cup (150g) of granulated white sugar, and 1/4 cup (50g) of packed light brown sugar. Turn the mixer up to medium-high speed and beat vigorously for a full 5 to 6 minutes. You will watch the mixture transform from a dark yellow liquid into a thick, pale, voluminous foam that falls back into the bowl in thick ribbons when you lift the whisk.
Step 3: Combining the Wet Components
Reduce your mixer speed to low and slowly pour the warm melted chocolate and butter mixture directly into the whipped egg base. Add the 1 teaspoon (5ml) of pure vanilla extract at this stage. Mix for just 30 seconds until the ingredients are completely integrated and a uniform, shiny, deep brown batter forms, taking care not to deflate the beautiful air bubbles you just whipped into the eggs.
Step 4: Folding in the Flour, Cocoa, and Chocolate Chunks
In a separate small bowl, whisk together the 1 cup (125g) of all-purpose flour, 1/4 cup (25g) of Dutch-processed cocoa powder, 1 teaspoon (5ml) of baking powder, and 1/4 teaspoon (1.5g) of fine sea salt. Sift these dry ingredients directly over your wet chocolate mixture. Using a flexible rubber spatula, gently fold the dry mixture into the wet batter by hand until just a few streaks of flour remain, then quickly fold in the remaining 4 ounces (113g) of chopped bittersweet chocolate chunks to ensure plenty of melted chocolate pools.
Step 5: Scooping and Baking Immediately
Working quickly before the batter cools down, use a large cookie scoop to drop 2-tablespoon mounds of dough onto your prepared parchment-lined baking sheets, leaving at least 2 inches (5cm) of space between each cookie. Place the baking sheets on the middle racks of your preheated oven and bake for exactly 10 to 11 minutes. You will know they are ready when the edges look beautifully set, the tops show a paper-thin, highly glossy cracked chocolate cookie crust, and the center still feels soft and slightly underbaked.
Step 6: Shaping, Salting, and Cooling to Perfection
Remove the baking sheets from the oven and immediately place them on a heat-safe surface. If any cookies look asymmetrical, quickly place a large round cookie cutter over each hot cookie and gently swirl it around in a circular motion to press the edges into flawless circles. While the cookies are still piping hot and the melted chocolate pools are liquid, sprinkle a light dusting of flaky sea salt garnish over the tops, then allow them to cool on the warm baking sheet for 10 minutes before transferring them to a wire rack to firm up completely.
Expert Tips for Success from a Professional Pastry Kitchen
- Never Chill the Batter: Chilling this unique cookie dough will solidify the fats and alter the sugar structures, completely ruining your chances of getting a paper-thin, highly glossy crinkled chocolate crust. Scoop and bake immediately!
- Use Real Chocolate Bars, Not Chips: Standard chocolate chips contain stabilizer agents designed to help them keep their shape under high heat. For those gorgeous, oozing melted chocolate pools, buy high-quality chocolate bars and chop them by hand.
- Sift the Cocoa Powder: Dutch-processed cocoa powder is highly prone to clumping up in storage. Sifting it ensures it distributes evenly through the dough without leaving pockets of dry, bitter flour.
- Watch the Timer Closely: Overbaking will turn your soft gooey fudgy chocolate center into a dry, cakey texture. The cookies should still look slightly soft and wobbly in the center when you pull them out of the oven.
- Invest in a Kitchen Scale: Baking is an exact science. Measuring your flour and sugars using a digital kitchen scale prevents adding too much flour, which ruins the delicate balance required for the cracked crevices.
Storage, Reheating, and Freezing Best Practices
To preserve the incredible contrast between the paper-thin crinkled surface and the soft gooey center, store your cooled cookies in a single layer inside an airtight container. Keeping them at room temperature will preserve their rich texture for up to 3 days. Avoid stacking them directly on top of each other without pieces of parchment paper between the layers, as the glossy tops can stick together and tear.
If you want to recreate that fresh-from-the-oven experience with warm, melted chocolate pools, simply pop a cookie into the microwave for 8 to 10 seconds. Be careful not to overheat it, as the chocolate can burn quickly and dry out the fudgy core. This quick warmth softens the fats and restores the decadent, melt-in-your-mouth texture perfectly.
For long-term storage, you can freeze these baked treats for up to 2 months. Place the fully cooled cookies on a baking sheet in a single layer and freeze for 1 hour until firm, then transfer them into a heavy-duty freezer bag. When a chocolate craving strikes, let a cookie thaw at room temperature for 30 minutes, then warm it up briefly in the oven at 300°F (150°C) for 5 minutes to restore its signature crisp edges.
What to Pair with Your Decadent Chocolate Treats
These intense, rich cookies pair beautifully with a wide variety of refreshing beverages. A tall glass of ice-cold whole milk or a hot oat milk latte provides a wonderful, creamy contrast that cuts right through the deep bittersweet chocolate notes. If you are hosting a festive gathering, consider serving them alongside an elegant lemonade moscato wine spritzer to add a bright, fruity balance to your dessert spread.
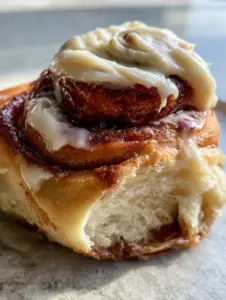
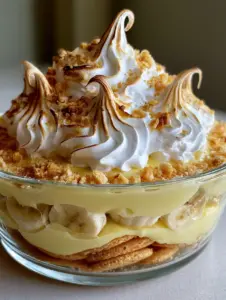
If you are planning a complete baking weekend, these cookies make a spectacular addition to a diverse dessert platter. Contrast their deep, dark appearance with a batch of bright homemade banana pudding or some delightfully sweet gooey cinnamon rolls. Alternatively, if you prefer a different kind of texture contrast in your cookie jar, try pairing them with a batch of ultra-shattery, classic crispy chocolate chip cookies.
Frequently Asked Questions
Frequently Asked Questions About Our Best Cookie Recipe
No, you must absolutely bake this dough immediately while it is still warm from the melted chocolate. Chilling the batter alters the structural fat distribution and sugar crystals, which will completely prevent the signature glossy cracked cookie skin from forming.
Regular chocolate chips contain stabilizing agents meant to prevent melting. For beautiful, rich melted chocolate pools across your cracked crevices, always chop up high-quality bittersweet baking bars by hand.
This usually happens from either overmeasuring the flour or overbaking the cookies in the oven. For a true soft gooey fudgy chocolate center, always weigh your flour with a kitchen scale and pull the cookies out while the centers still look slightly soft and underbaked.
A dull, matte top means the sugars were not fully dissolved into the egg proteins. Ensure you whip your room temperature eggs and sugars with a stand mixer on medium-high speed for a full 5 to 6 minutes until thick and pale ribbon stages form.
The Definitive Brownie Cookies Recipe Card
brownie cookies with a Glossy Crinkled Crust and Fudgy Center
Ingredients
Equipment
Method
- Preheat your oven to 350°F (175°C) and line two large baking sheets with parchment paper. Melt 4 ounces (112g) of chopped bittersweet chocolate and 1/2 cup (115g) of unsalted butter together over a double boiler, stirring until completely smooth.
- In a stand mixer fitted with a whisk attachment, whip 2 large room temperature eggs, 3/4 cup (150g) white sugar, and 1/4 cup (50g) light brown sugar on medium-high speed for 5-6 minutes until pale, thick, and ribbon-like.
- Slowly pour the warm melted chocolate and 1 teaspoon (5ml) vanilla extract into the whipped egg mixture with the mixer running on low. Mix for 30 seconds until fully incorporated.
- Sift 1 cup (125g) all-purpose flour, 1/4 cup (25g) cocoa powder, 1 teaspoon (5ml) baking powder, and 1/4 teaspoon (1.5g) fine sea salt into the bowl. Gently fold with a spatula by hand, adding the remaining 4 ounces (113g) of chocolate chunks right before the flour is fully mixed.
- Immediately scoop 2-tablespoon mounds of batter onto your prepared baking sheets. Bake at 350°F (175°C) for 10-11 minutes until edges are set and tops are glossy and crinkled.
- Remove from the oven, use a cookie cutter to swirl into perfect circles if needed, sprinkle with flaky sea salt garnish immediately over the hot melted chocolate pools, and cool on the sheet for 10 minutes before moving to a wire rack.
Notes
Use chopped chocolate bars instead of standard baking chips to secure gorgeous melted chocolate pools across the tops.
Show Off Your Gorgeous Baking Success!
Now that you know the exact food science secrets to achieving a perfect paper-thin, highly glossy cracked chocolate cookie crust and an ultra-soft gooey fudgy chocolate center, it is time to turn on your oven! If you loved making this recipe, please head over to Pinterest and save it to your favorite dessert boards under the username sarah_table so you can easily find it later. Don’t forget to follow our page for more elite baking breakthroughs and comfort food inspirations.
We absolutely love seeing your beautiful kitchen creations! Please take a quick handheld smartphone photo of your finished cookies, upload it in the comments section below, and show off those stunning cracked crevices and melted chocolate pools. If these decadent treats satisfied your deepest chocolate cravings, please take a moment to leave a glorious 5-star rating on the recipe card above to help other passionate home cooks find this viral recipe!