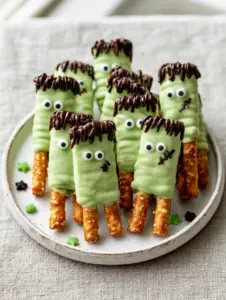
Frankenstein pretzels are the whimsical, salty-sweet snack your October calendar is missing. Whether you are prepping for a haunted house party or looking for a rainy-day kitchen craft with the kids, these Frankenstein pretzels deliver the perfect blend of vibrant lime green aesthetics and that classic crunch everyone craves. These treats are designed to be the star of your dessert table, capturing the iconic look of Mary Shelley’s monster with a delicious, modern twist.
Making Frankenstein pretzels is surprisingly simple, yet the final result looks like it came straight from a professional bakery. By using high-quality salted pretzel rods and smooth candy melts, you create a canvas that is as fun to decorate as it is to eat. This guide will walk you through every step, from achieving the perfect pastel green hue to piping those tiny, characteristic “scars” that make these treats truly legendary.
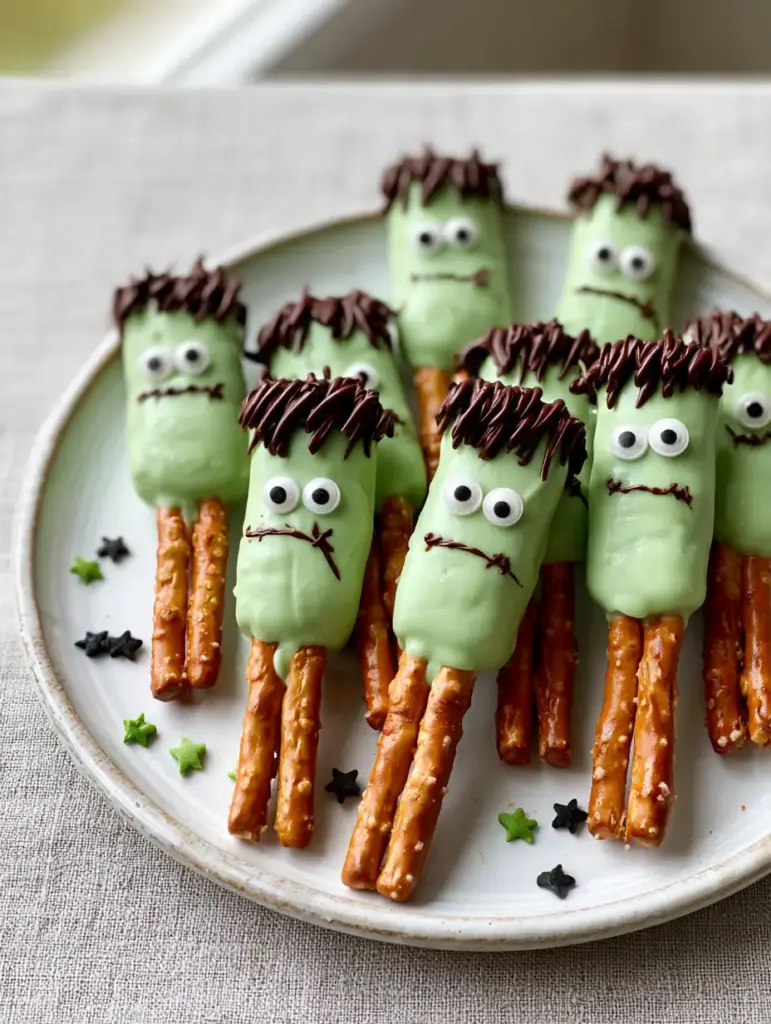
Why You Will Obsess Over These Spooky Snacks
- Visual Texture Mastery: The contrast between the golden-baked, salty pretzel twist and the thick, pastel-lime-green glaze is visually stunning.
- Perfect Flavor Profile: You get the ultimate hit of salt from the pretzel rod paired with the creamy, vanilla-like sweetness of the candy coating.
- Pinterest-Ready Design: With jagged dark chocolate hair and artful star sprinkles, these are built to go viral on your social feed.
- No-Bake Ease: This recipe requires zero oven time, making it a stress-free addition to your holiday hosting lineup.
If you love creating themed treats that don’t require a degree in pastry arts, you should also check out my cinnamon roll bliss bars for a cozy morning vibe or these frozen strawberry chocolate bites for another easy dipped snack option.
Essential Ingredients for Frankenstein Pretzels
To achieve the specific look from our visual blueprint, you will need to gather these specific items. Quality matters here, especially when it comes to the “snap” of your pretzel and the fluidity of your chocolate.
10-12 Large Salted Pretzel Rods: Look for rods that are straight and unbroken. The salt crystals provide a necessary contrast to the sugar. If you are feeding a larger crowd, you can easily double this batch.
12 oz (340g) Pastel Lime Green Candy Melts: This specific shade provides the “monster skin” look. Candy melts are preferred over white chocolate with food coloring because they set harder and smoother at room temperature.
1/2 cup (85g) Dark Chocolate Chips or Melting Wafers: This will be melted and used for the “jagged hair” and the delicate “stitched scar” on the cheek. Dark chocolate provides a deep color contrast against the lime green.
24 Candy Googly Eyes: These small sugar decorations bring the Frankenstein character to life. You will need two eyes for each pretzel rod.
Black and Green Star Sprinkles: These are scattered for an “artful” finish. They add a whimsical, professional touch to the final presentation plate.
1 tsp (5ml) Coconut Oil or Paramount Crystals (Optional): If your candy melts are too thick, a tiny bit of fat helps create that “subtle sheen” and smooth dipping consistency mentioned in our visual prompt.
Preparing Your Dipping Station
Before you begin dipping your Frankenstein pretzels, organization is key. Candy melts set quickly, so you need your decorations ready to go. Line a large baking sheet with parchment paper or a silicone mat. This ensures your monster creations don’t stick to the surface while they harden.
Place your googly eyes in a small bowl and have your star sprinkles within arm’s reach. If you are planning a full party spread, these pretzels look amazing next to a warm bowl of lasagna soup or a hearty white chicken chili for a balanced “soup and snack” Halloween night.
How to Make Frankenstein Pretzels Step-by-Step
1. Melting the “Monster Skin” Base
Place your 12 oz (340g) pastel lime green candy melts in a microwave-safe bowl. The bowl should be narrow and deep to make dipping easier. Microwave in 30-second intervals at 50% power. Stir thoroughly between each interval. Stirring is the most important step to prevent the chocolate from burning or seizing.
Once the coating is completely smooth and shows a subtle sheen, add a teaspoon of coconut oil if it feels too thick. You want a consistency that coats the pretzel heavily but allows excess to drip off easily.
2. The Perfect Half-Dip Technique
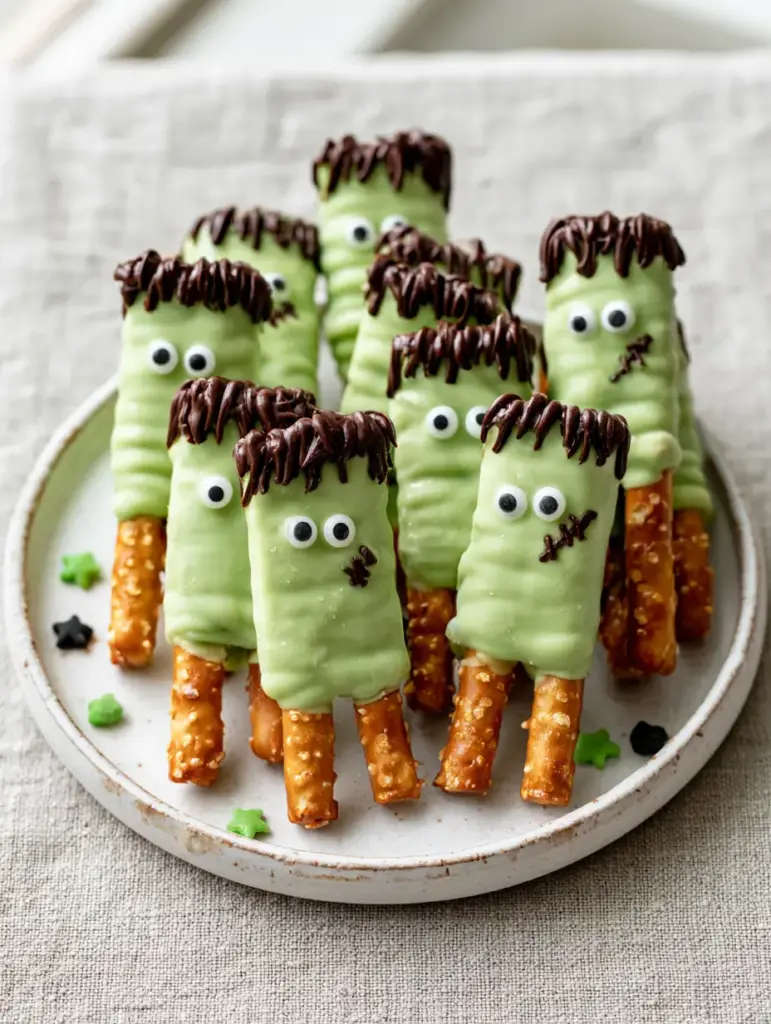
Take a salted pretzel rod and dip the top half into the green melted candy. As specified in our Visual Recipe Blueprint, you must leave the bottom half bare to show off the golden-baked pretzel twist texture. This creates a rustic, “hand-dipped” look that is very popular on Pinterest.
Gently tap the pretzel rod against the side of the bowl to remove excess coating. Visual Cue: The coating should look thick and opaque, not translucent. Place the dipped rod onto your prepared parchment paper.
3. Bringing the Monster to Life
While the green coating is still “wet,” immediately press two candy googly eyes into the upper third of the green section. Do not wait for the coating to dry, or the eyes will not stick. Ensure they are neat and level for a professional appearance.
4. Crafting the Jagged Dark Chocolate Hair
Melt your 1/2 cup (85g) dark chocolate in the microwave using the same 30-second interval method. Transfer the melted chocolate to a small piping bag or a Ziploc bag with a tiny corner snipped off. At the very top of the green section (the “head”), drizzle the chocolate in a jagged, messy pattern to mimic wild hair.
5. The Signature Stitched Scar
Using the same dark chocolate piping bag, draw a tiny “stitched scar” on the “cheek” of each pretzel, just below and to the side of one eye. This is the Forensic Visual Accuracy detail that elevates your Frankenstein pretzels from generic treats to artisanal Halloween snacks.
6. Final Flourish and Set
While the chocolate hair is still slightly tacky, you can add a few black and green star sprinkles directly onto the hair or around the base of the plate. Allow the pretzels to sit at room temperature for at least 30-45 minutes until completely firm. If your kitchen is warm, you can pop them in the fridge for 10 minutes.
Expert Tips for Success
- Avoid Seizing: Never let a single drop of water touch your candy melts. Water causes chocolate to turn into a gritty paste instantly.
- Use a Tall Glass: For the best dipping experience, pour your melted green candy into a tall, narrow glass. This allows you to dip the rod straight down and get a perfectly even “half-bare” line.
- Temperature Control: If the candy melts become too thick while you are working, simply pop them back in the microwave for 10-15 seconds and stir.
- The “Tap” Method: When removing excess chocolate, tap your wrist rather than the pretzel itself. This provides a gentler vibration that prevents the pretzel from snapping.
Storage and Make-Ahead Instructions
Storage: Store your finished Frankenstein pretzels in an airtight container at room temperature for up to 2 weeks. Keep them in a cool, dry place away from direct sunlight, which can fade the lime green color.
Freezing: We do not recommend freezing these treats. The moisture from the thawing process can cause the pretzels to lose their crunch and the candy eyes to “bleed” color.
Make-Ahead: These are excellent for making 2-3 days in advance of a party. They stay perfectly crisp and the decorations remain intact.
What to Serve With Spooky Pretzels
These Frankenstein pretzels are quite sweet, so they pair beautifully with savory party foods. Consider serving them alongside a sausage egg and hashbrown casserole if you are hosting a “Hallow-brunch.” For a cozy dinner before trick-or-treating, a bowl of fresh herb chicken noodle soup provides a comforting, savory balance to the sugary monsters.
The Best Frankenstein Pretzels Recipe
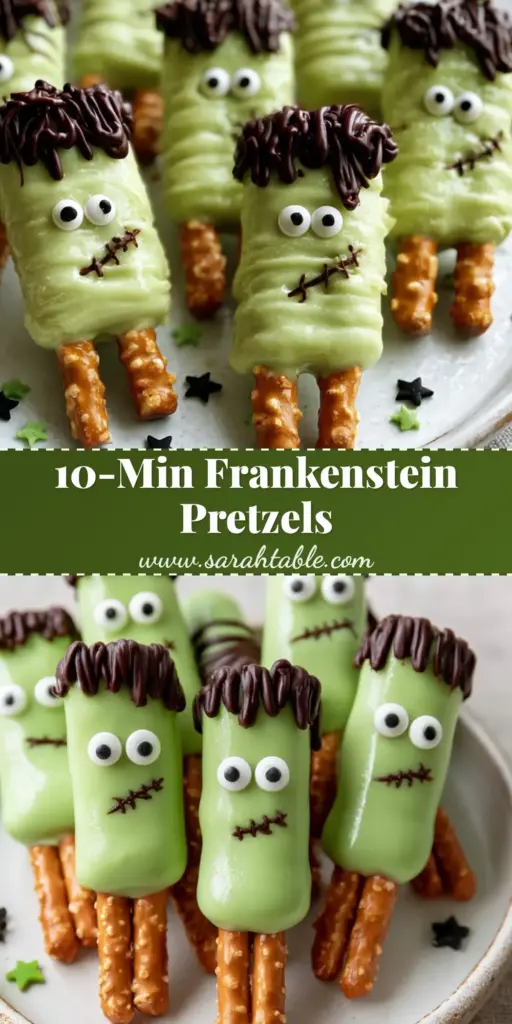
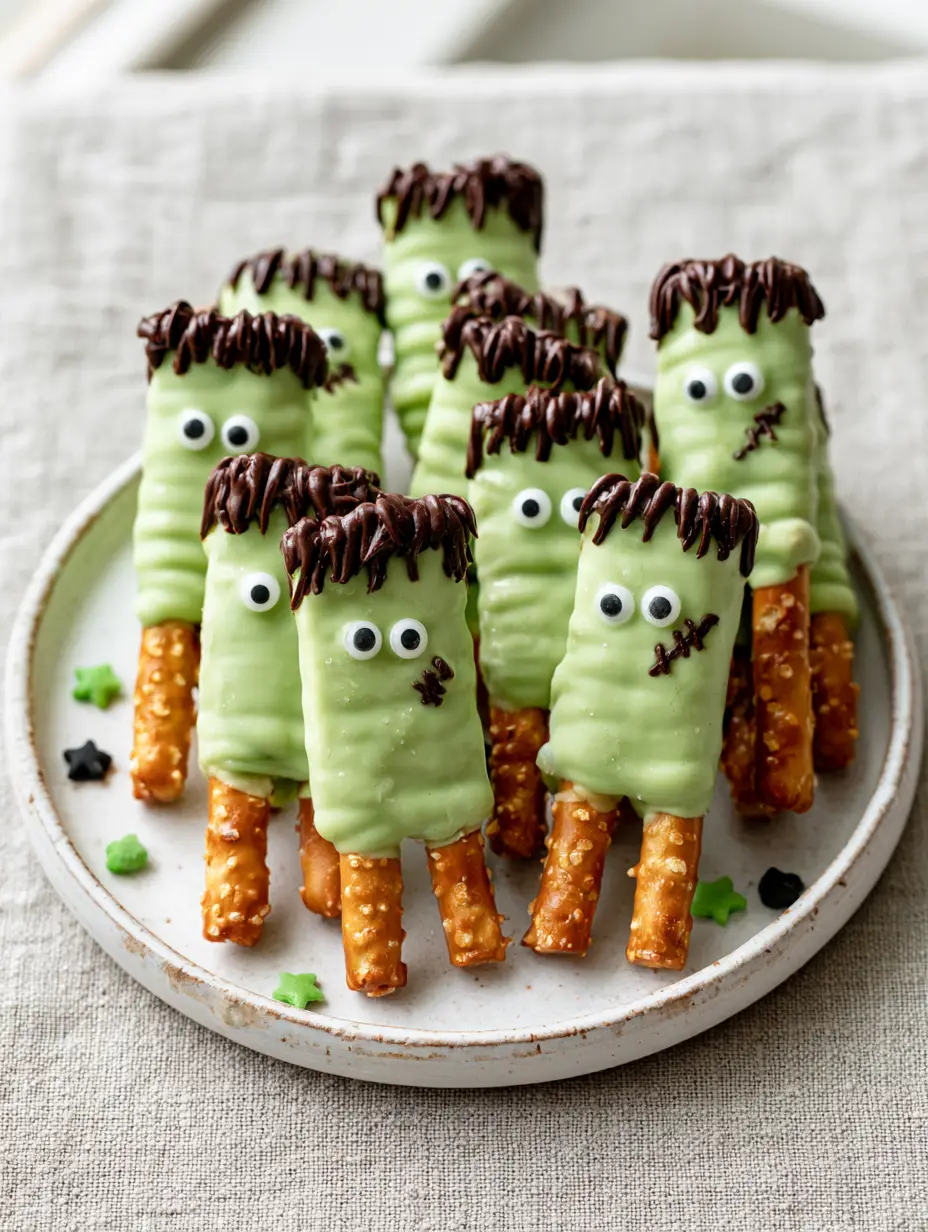
Frankenstein Pretzels: The Ultimate Spooky Halloween Treat
Ingredients
Equipment
Method
- Line a baking sheet with parchment paper and set aside. Organize eyes and sprinkles.
- Melt lime green candy melts in the microwave in 30-second bursts at 50% power until smooth and shiny.
- Dip the top half of each pretzel rod into the green melt, leaving the bottom bare. Tap off excess.
- Press two googly eyes into the wet green coating.
- Melt dark chocolate and pipe a jagged, messy hair pattern at the top and a tiny stitched scar on the cheek.
- Scatter star sprinkles and let set for 30 minutes until firm.
Notes
Use a tall glass for dipping to get a clean line on the pretzel rod.
Yes, but you must use oil-based food coloring (candy coloring). Regular water-based food coloring will cause the white chocolate to seize and turn into a paste.
Use a very small piping tip or snip only a tiny corner off a Ziploc bag. Practice one or two lines on a piece of parchment paper before piping directly onto the monster’s cheek.
When stored in an airtight container at room temperature, these pretzels will stay crisp and delicious for up to 14 days.
This usually happens due to overheating or a tiny amount of moisture getting into the bowl. To fix this, stir in a teaspoon of coconut oil or shortening to thin it back out to a dipping consistency.
The eyes must be applied while the green candy coating is still wet. If it sets before you add the eyes, you can use a tiny dot of melted chocolate as ‘glue’ to attach them.
Share the Spooky Love!
I can’t wait to see your Frankenstein pretzels! These little monsters are always a hit, and I would love to see how your “jagged hair” and “stitched scars” turned out. Please save this recipe to your Halloween Pinterest board so you can find it every year! If you made these, leave a photo in the comments below and give this recipe a 5-star rating—it helps other home cooks find these spooky treats. Happy haunting!