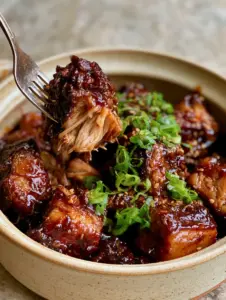
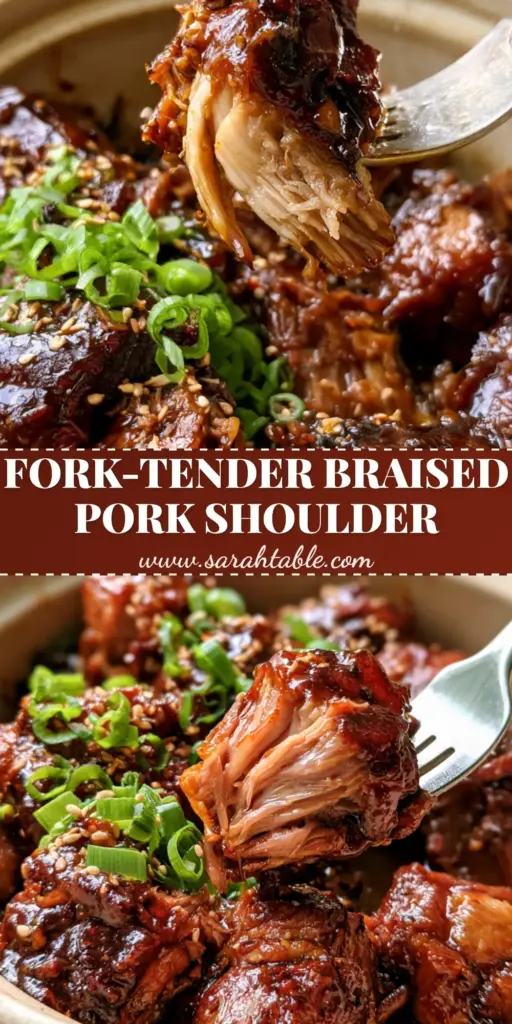
There is nothing quite like the sight of a braised pork shoulder that has been cooked so perfectly it literally falls apart at the mere suggestion of a silver fork. If you are looking for that ultimate comfort meal that looks like it belongs on the cover of a high-end food magazine, you have found it. This recipe transforms a humble cut of meat into succulent, glistening chunks bathed in a thick mahogany glaze that is as sweet as it is savory.
When you lift a piece of this braised pork shoulder from the rustic cream ceramic pot, you will see those pale, juicy, shredded interior fibers that signify a perfect low-and-slow cook. The contrast between the dark, glossy exterior and the tender meat inside is a visual masterpiece. Topped with bright green scallions and a dusting of toasted sesame seeds, this dish is a Pinterest dream come true. Much like my soul-warming Nigerian beef stew, this pork dish relies on patience and high-quality aromatics to achieve depth of flavor.
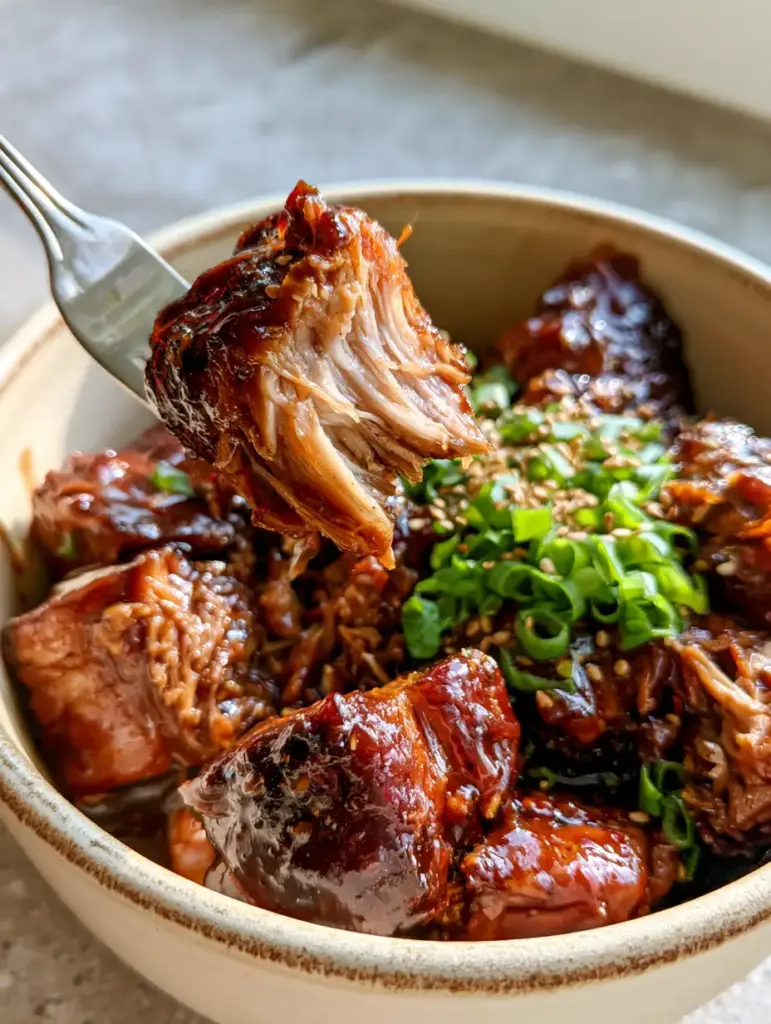
Why This Is the Ultimate Braised Pork Shoulder Recipe
- Succulent Falling-Apart Texture: We use a low-temperature braising technique to ensure the collagen breaks down into melt-in-your-mouth silkiness.
- Thick Mahogany Glaze: A specialized reduction process creates a sticky, glossy sauce that clings to every fiber of the meat.
- Vibrant Visual Contrast: The combination of the deep brown meat, bright green scallions, and white sesame seeds makes this dish a showstopper.
- Minimal Effort, High Reward: Most of the time spent on this braised pork shoulder is completely hands-off while it simmers in the oven.
If you love recipes that fill your house with an incredible aroma, you might also enjoy my fresh herb chicken noodle soup for those chilly weeknights. But for today, let’s focus on mastering the art of the pork braise.
The Secret Ingredients for a Glossy Mahogany Finish
To achieve that specific “mahogany” look mentioned in our visual blueprint, we don’t just use salt and pepper. We need ingredients that caramelize and darken under heat. The sugars in the honey and the deep pigments in the soy sauce are non-negotiable for that thick, sticky texture.
Pork Shoulder (Butt): 3 lbs (1.4 kg). This cut has the perfect ratio of fat to lean meat. As the fat renders, it bastes the meat from the inside out.
Neutral Oil: 2 tbsp (30 ml). High smoke point oil like canola or vegetable is essential for the initial hard sear. Do not skip the sear!
Soy Sauce: 1/2 cup (120 ml). This provides the salt and the deep, dark base for our mahogany glaze.
Honey or Brown Sugar: 1/3 cup (80 ml). This is the key to the “sticky” and “glossy” attributes. It helps the sauce reduce into a lacquer-like consistency.
Rice Vinegar: 2 tbsp (30 ml). Acid is required to cut through the richness of the rendered fat.
Fresh Ginger & Garlic: 3 tbsp (45 g). These aromatics infuse the braised pork shoulder chunks with layers of complexity.
Beef or Chicken Broth: 2 cups (480 ml). This acts as the braising liquid. For a different flavor profile, you can even check out my white chicken chili base ideas.
Garnish: Fresh scallions and toasted sesame seeds. These add the “vibrant garnish” and “light dusting” that complete the visual blueprint.
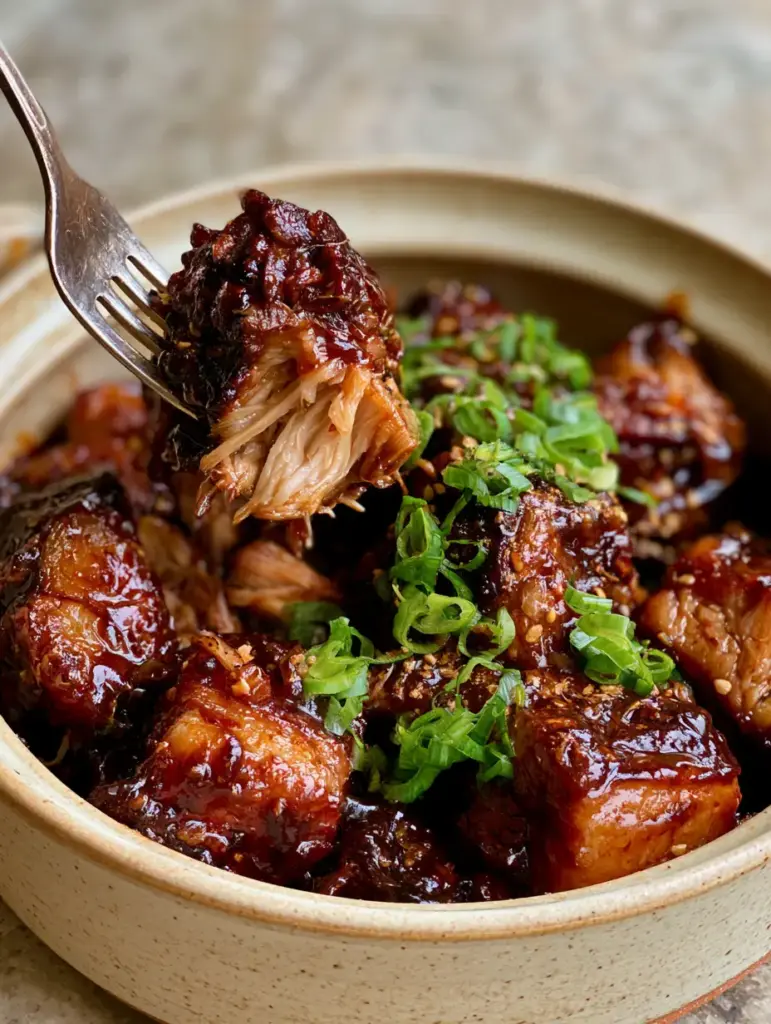
Step-by-Step Instructions for the Perfect Braise
Step 1: The Critical Hard Sear
Cut your braised pork shoulder into large, 2-inch (5 cm) chunks. Pat them bone-dry with paper towels. Heat your oil in a large cream ceramic pot (or Dutch oven) over medium-high heat. Sear the meat in batches, ensuring you don’t crowd the pan. You are looking for a dark, crusty exterior on all sides. This “Maillard reaction” is the first step toward that mahogany color.
Step 2: Building the Aromatic Base
Remove the meat and set it aside. Lower the heat to medium and add your minced garlic, ginger, and the white parts of your scallions. Sauté for 1-2 minutes until fragrant but not burnt. The smell should be intoxicating at this stage.
Step 3: Deglazing and Braising
Pour in the soy sauce, honey, rice vinegar, and broth. Use a wooden spoon to scrape up all those delicious brown bits (fond) from the bottom of the pot. Return the braised pork shoulder chunks to the pot. The liquid should cover about two-thirds of the meat. Cover with a tight-fitting lid and place in a 325°F (165°C) oven for 3 to 3.5 hours.
Step 4: Creating the Mahogany Lacquer
Once the meat is “literally falling apart” when tested with a silver fork, remove the pot from the oven. Carefully transfer the succulent chunks to a plate. Turn the stovetop to medium-high and boil the remaining liquid. Watch it closely! As the water evaporates, the sauce will transform into a thick, glossy, mahogany glaze. Toss the meat back in to coat every single fiber.
Expert Tips for Braising Success
- Don’t Trim All the Fat: The “rendered fat” mentioned in the blueprint is what keeps the meat juicy during the long cook. Leave a good amount of the fat cap on the chunks.
- Use a Ceramic Pot: A heavy ceramic pot distributes heat more evenly than thin metal, preventing the sugars in the glaze from scorching.
- Patience is Key: If the meat isn’t shredding easily with a fork, it’s not done. Give it another 30 minutes. Every oven varies.
- The Resting Period: Let the meat sit in the glaze for 10 minutes before serving. This allows the fibers to soak up the sauce.
How to Store, Reheat, and Freeze
This braised pork shoulder actually tastes better the next day as the flavors continue to develop. Store leftovers in an airtight container in the fridge for up to 4 days. When reheating, add a splash of water or broth to loosen the glaze.
To freeze, place the cooled pork and glaze in a freezer-safe bag. It will stay fresh for up to 3 months. This makes it a great “emergency” dinner, much like having a batch of sausage egg and hashbrown casserole ready for a busy morning.
What to Serve with Sticky Braised Pork
Since this dish is incredibly rich and glossy, you want to serve it with something that can soak up that extra mahogany glaze. Steamed jasmine rice is the classic choice. For a lower-carb option, cauliflower rice or sautéed bok choy works beautifully. If you want a more “fusion” breakfast feel, try serving the leftovers alongside a cinnamon roll bliss bar for a sweet and savory brunch spread.
Frequently Asked Questions
Yes, you can cook it on low for 8 hours. However, you must still sear the meat first and reduce the sauce in a pan at the end to achieve the glossy glaze.
Absolutely! The meat is so tender it can easily be shredded for sandwiches, though the mahogany glaze is specifically designed for a sticky, plated presentation.
The mahogany color comes from a hard sear and the addition of soy sauce and honey. To make it thick and sticky, you must reduce the braising liquid on the stovetop after the meat is finished cooking.
The pork butt (which is actually the upper shoulder) is the best cut because it contains the ideal amount of fat and connective tissue for a long, slow braise.
Pork shoulder is tough if it hasn’t been cooked long enough. The connective tissue needs time and low heat to transform into gelatin. Give it more time in the oven!
The Final Braised Pork Shoulder Recipe Card
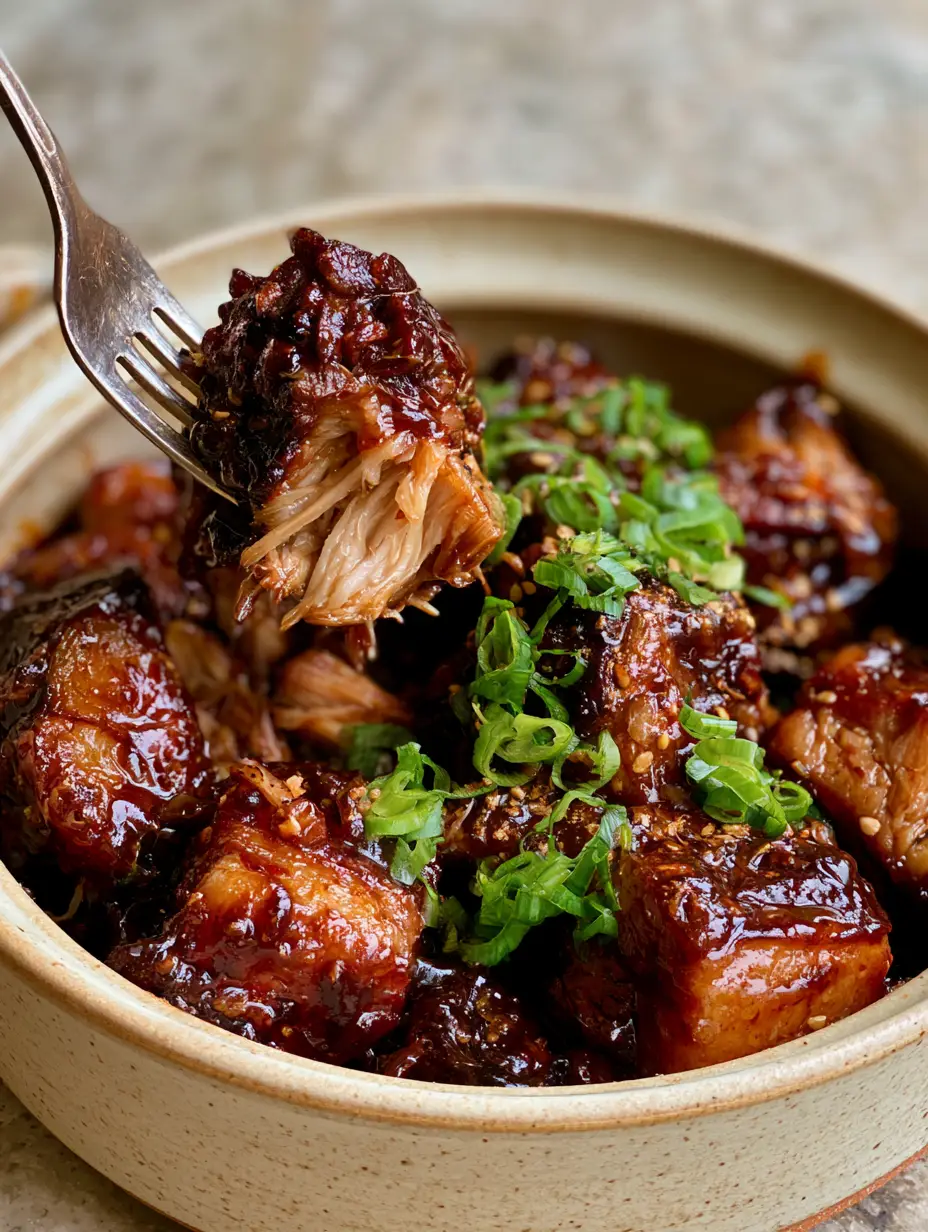
Braised Pork Shoulder with a Sticky Mahogany Glaze
Ingredients
Equipment
Method
- Dry the pork chunks thoroughly. Heat oil in the ceramic pot and sear meat in batches until a deep mahogany crust forms on all sides.
- Remove meat. Add garlic, ginger, and scallion whites to the pot. Sauté for 1 minute until fragrant.
- Add soy sauce, honey, vinegar, and broth. Scrape the bottom of the pot. Return pork to the pot and cover. Bake at 325°F (165°C) for 3 to 3.5 hours.
- Remove pot from oven. Take pork out and reduce the remaining liquid on the stovetop until thick and glossy. Toss pork back in to coat.
Notes
The glaze is ready when it coats the back of a spoon.
Save This Recipe to Pinterest!
Are you ready to make the most succulent braised pork shoulder of your life? Don’t lose this recipe! Click the “Save” button on any of the images in this post to add it to your “Dinner Ideas” or “Comfort Food” board on Pinterest.
If you make this dish, I want to see it! Take a photo of your cream ceramic pot and your mahogany-glazed meat and share it in the comments below or tag @sarah_table on social media. Please leave a 5-star rating in the recipe card if you loved it—it helps other home cooks find my recipes! Happy cooking!