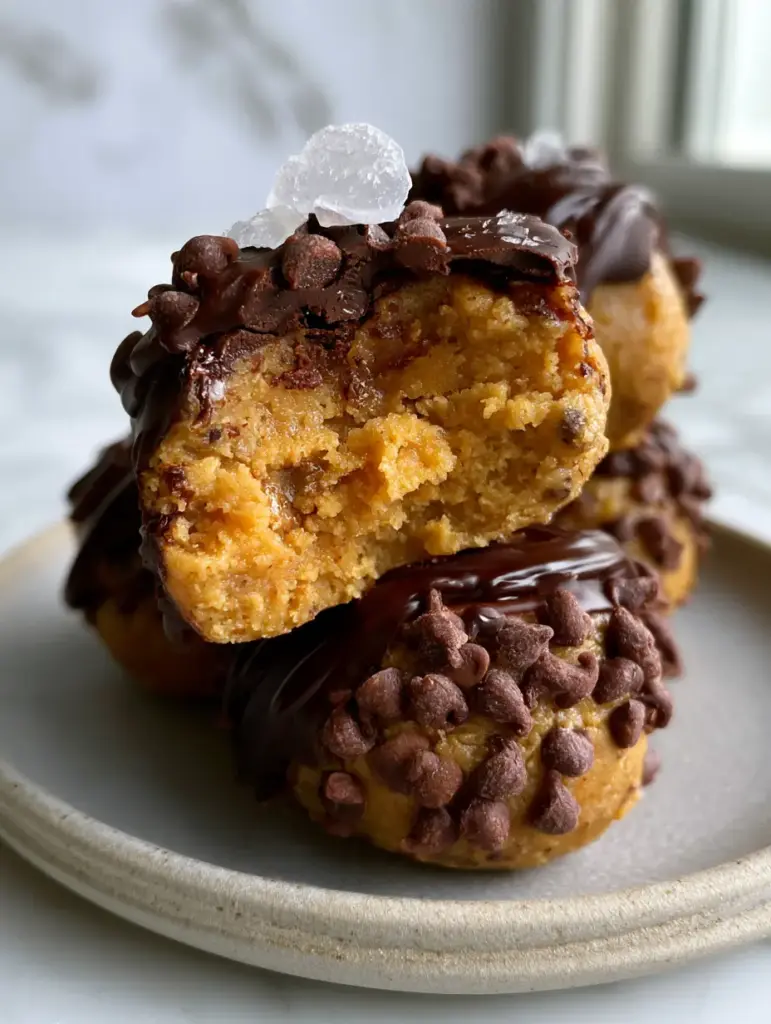
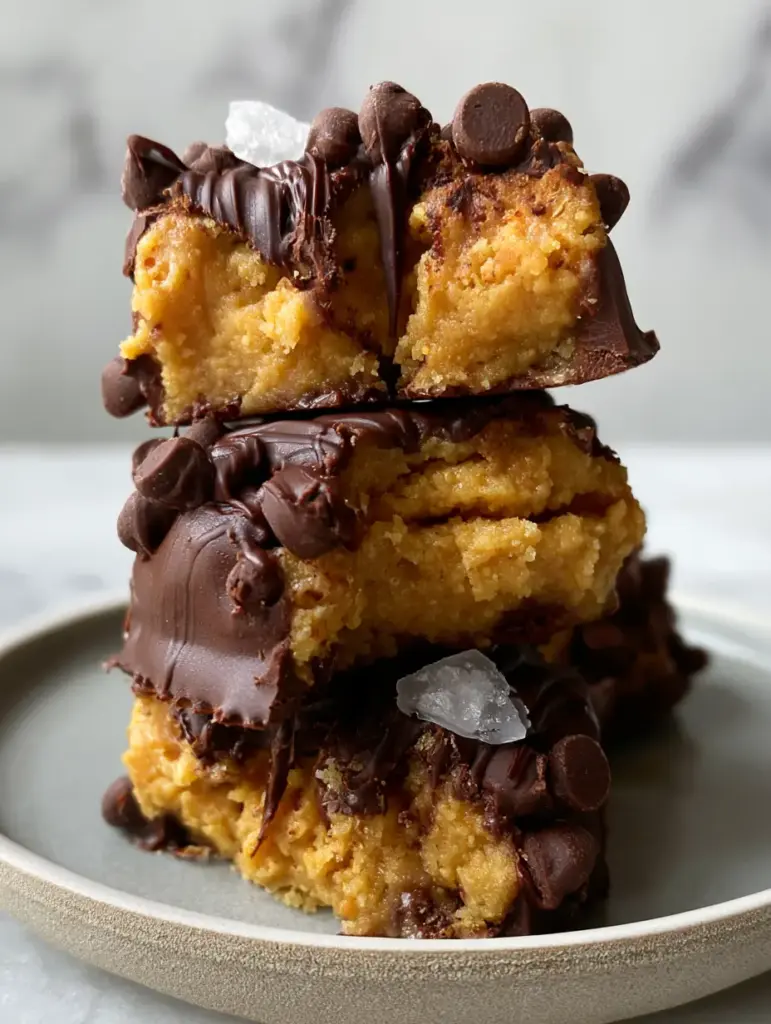
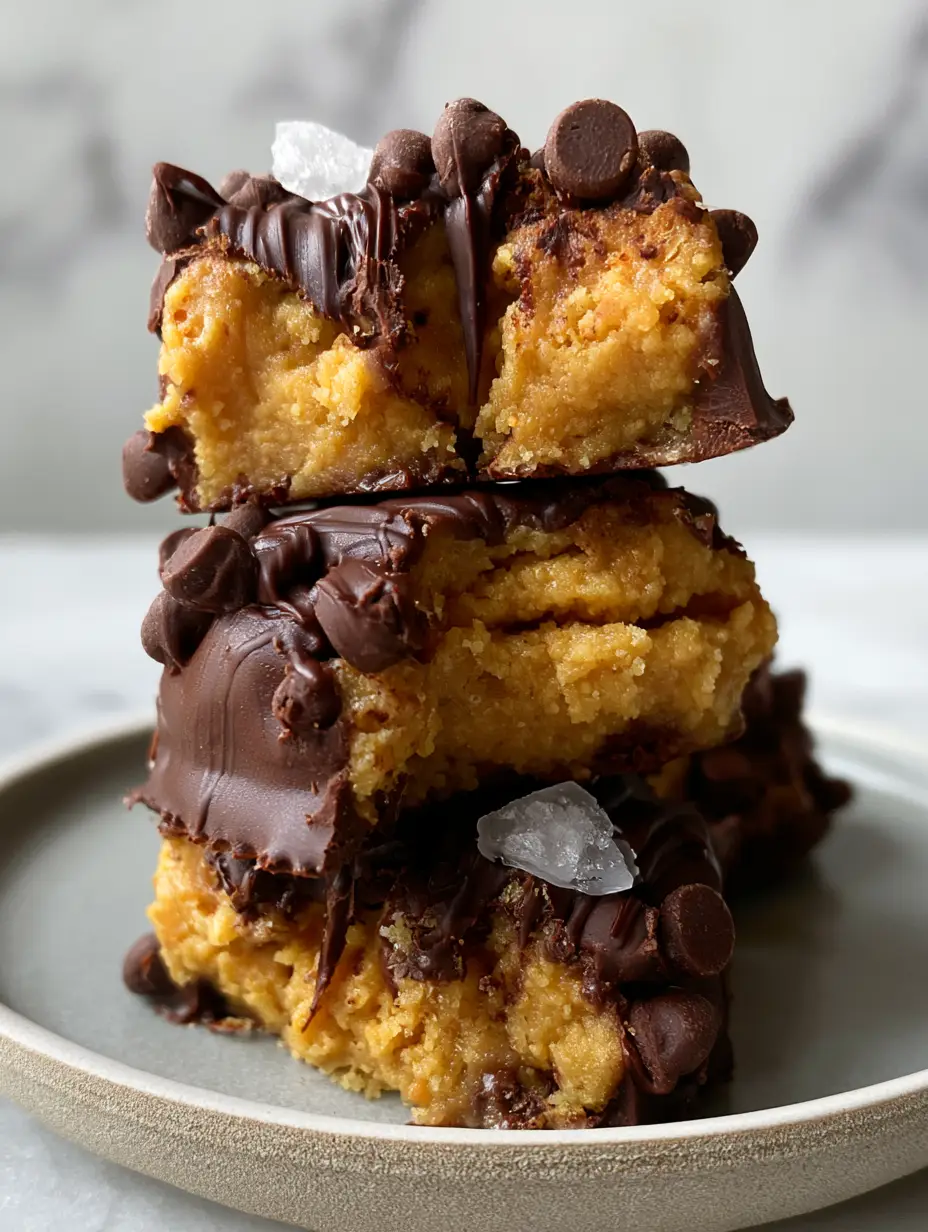
These peanut butter balls are the ultimate no-bake treat, combining a dense, velvety matte interior with a crisp, glossy dark chocolate shell. If you are looking for a snack that feels like a gourmet truffle but comes together in minutes, this recipe is your new best friend. By using fine almond flour instead of powdered sugar, we achieve a rich, sophisticated texture that perfectly balances the creamy golden peanut butter.
Whether you are preparing a batch for campfire treats or looking for a high-protein dessert to keep in the fridge, these peanut butter balls deliver on every level. The combination of salty, sweet, and nutty flavors makes them irresistible to kids and adults alike. We have optimized every step to ensure you get that professional, “hand-dipped” look right in your own kitchen.
Why You Will Love This Gourmet Peanut Butter Ball Recipe
- Perfect Texture Contrast: A soft, matte peanut butter center meets a snappy, glossy dark chocolate coating.
- Refined Ingredients: We swap gritty powdered sugar for fine almond flour for a smoother, more decadent mouthfeel.
- Visual Appeal: Topped with mini semi-sweet chips and large flakes of sea salt, these look like they came from a high-end chocolatier.
- No-Bake Ease: No oven required, making this a perfect year-round recipe for busy households.
The Anatomy of the Best Peanut Butter Balls
To create the perfect peanut butter balls, every ingredient serves a specific culinary purpose. We aren’t just mixing things together; we are building layers of flavor and texture that satisfy the palate.
Creamy Golden Peanut Butter: 1 cup (250g). This is the heart of the recipe. We recommend a smooth, commercially processed peanut butter for the best structural integrity, though natural varieties can work if well-stirred.
Fine Almond Flour: 1 ½ cups (144g). This provides the “matte” interior seen in professional truffles. Unlike crispy cookies that rely on flour and leavening, almond flour keeps these gluten-free and adds a delicate nuttiness.
Pure Maple Syrup or Honey: ¼ cup (60ml). This acts as our liquid sweetener and binder, ensuring the dough stays moist without becoming cloying.
Vanilla Extract: 1 teaspoon (5ml). A foundational flavor that enhances the richness of the dark chocolate.
Glossy Dark Chocolate Coating: 1 ½ cups (255g) dark chocolate chips or chopped bar. Dark chocolate provides the necessary bitterness to cut through the creamy peanut butter center.
Coconut Oil: 1 tablespoon (15ml). This is the secret to a “glossy” finish that doesn’t crack when you bite into it.
Mini Semi-Sweet Chocolate Chips: ¼ cup (45g). These add a secondary “crunch” factor to the exterior garnish.
Large Flaky Sea Salt: 1 tablespoon. The final garnish that bridges the gap between the savory peanut butter and the sweet chocolate.
Step-by-Step Instructions for Flawless Results
Creating the Velvety Matte Center
Start by combining your 1 cup (250g) of creamy peanut butter, 1 ½ cups (144g) of almond flour, ¼ cup (60ml) of maple syrup, and vanilla in a large mixing bowl. Use a stiff spatula to fold the ingredients together until a thick, pliable dough forms. You are looking for a matte finish—it should not look oily. If the dough feels too soft, add another tablespoon of almond flour.
Once mixed, use a small cookie scoop to portion out 1-inch balls. Roll them between your palms until perfectly spherical. Place them on a parchment-lined tray and chill in the freezer for at least 20 minutes. Chilling is vital; if the peanut butter balls are warm, the chocolate will slide right off.
The Secret to a Glossy Chocolate Coating
While the centers chill, prepare your chocolate dip. Combine the dark chocolate and 1 tablespoon (15ml) of coconut oil in a microwave-safe bowl. Heat in 30-second increments, stirring vigorously in between, until the mixture is silky and reflective. The coconut oil lowers the melting point, resulting in that professional “glossy” sheen you see in high-end desserts.
Avoid overheating the chocolate, as it can bloom or become chalky. If you enjoy the depth of fudgy brownies, you will appreciate how a high-quality dark chocolate elevates these truffles.
Dipping and Garnishing for Maximum Impact
Remove the chilled centers from the freezer. Using a fork or a dipping tool, submerge one ball at a time into the melted chocolate. Lift it out, tapping the fork against the side of the bowl to let excess chocolate drip off. This ensures a thin, crisp shell rather than a thick, clunky one.
Immediately place the coated ball back onto the parchment paper. While the chocolate is still wet, sprinkle a few mini semi-sweet chips and a pinch of large flaky sea salt onto the top. For an extra touch of elegance, drizzle a tiny bit of remaining chocolate over the top in a zig-zag pattern.
Setting and Storing Your Truffles
Allow the peanut butter balls to set at room temperature for 30 minutes, or return them to the refrigerator for 10 minutes for a quick set. Once the chocolate is firm to the touch and the drizzle has hardened, they are ready to serve. The result should be a stunning stack of truffles with a broken interior revealing that dense, velvety matte center.
Expert Tips for Pinterest-Perfect Peanut Butter Balls
- Control the Temperature: If your kitchen is hot, keep the undipped balls in the fridge and only take out 3-4 at a time to dip.
- The Fork Trick: When dipping, use a fork and a toothpick to slide the ball off the tines. This prevents the “puddle” of chocolate at the base.
- Salt Selection: Don’t use table salt. The “large translucent flakes” mentioned in the visual blueprint are essential for both the flavor profile and the aesthetic.
- Peanut Butter Choice: Avoid “drippy” natural peanut butters unless you plan to add significantly more almond flour to stabilize the dough.
Storage, Reheating & Freezing
These peanut butter balls are best stored in the refrigerator in an airtight container. They will stay fresh and maintain their glossy appearance for up to 2 weeks. For longer storage, you can freeze them for up to 3 months. When eating from the freezer, let them sit at room temperature for 5 minutes to allow the matte interior to soften slightly.
Do not reheat these treats, as the dark chocolate coating will melt and lose its beautiful temper. If you are serving them at a party, they can safely sit out at room temperature for 2-3 hours without losing their shape.
What to Serve With These Treats
These rich, nutty truffles pair beautifully with a variety of beverages and snacks. If you are hosting a dessert party, consider serving them alongside creamy banana pudding or a batch of decadent brownie cookies for a full chocolate-and-nut spread.
For a refreshing contrast, a glass of cold milk or even a light dessert wine works wonders. The saltiness of the peanut butter balls makes them a surprising but delightful companion to a fruit-forward spread.
Frequently Asked Questions
You can, but you will likely need to increase the almond flour by 2-4 tablespoons to ensure the dough is firm enough to roll into balls.
Yes, you can substitute heat-treated oat flour 1:1, though the texture will be slightly more dense and less ‘matte’ than the almond flour version.
Yes, because they contain no preservatives and use maple syrup as a binder, they should be stored in the fridge to maintain their structure and prevent the chocolate from softening.
Adding a small amount of coconut oil or shortening to the melted chocolate makes the shell slightly more flexible, preventing it from shattering or cracking excessively.
A glossy finish requires a fat like coconut oil to be melted with the chocolate. Also, avoid getting any water in the bowl, as this causes the chocolate to seize and turn dull.
The Ultimate Peanut Butter Balls Recipe
Peanut Butter Balls with Dark Chocolate and Sea Salt
Ingredients
Equipment
Method
- Combine peanut butter, almond flour, maple syrup, and vanilla in a bowl until a matte dough forms.
- Roll into 1-inch balls and place on parchment paper.
- Freeze for 20 minutes to firm up the centers.
- Melt dark chocolate and coconut oil in 30-second bursts until glossy.
- Dip each chilled ball into the chocolate, letting excess drip off.
- Top immediately with mini chips and sea salt before the chocolate sets.
Notes
Ensure the peanut butter is not too oily or the balls won't hold their shape.
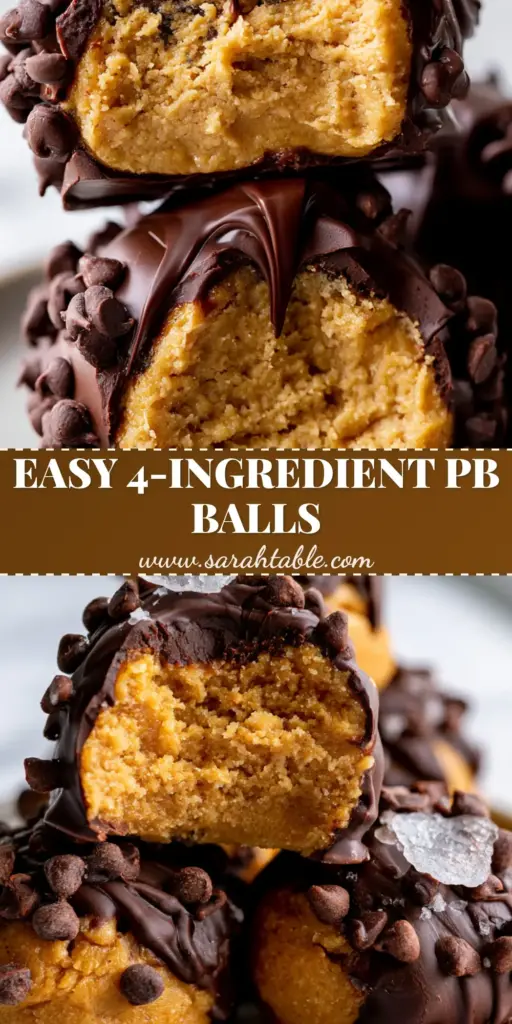
Save This Recipe for Later!
Did you love these peanut butter balls? Make sure to save this recipe to your Dessert Board on Pinterest so you never lose it! Following @sarah_table ensures you get the latest no-bake treats and gourmet kitchen tips delivered straight to your feed.
If you make these, please leave a 5-star rating in the recipe card above and upload a photo of your glossy truffles in the comments below. Seeing your recreations is the best part of my day!