Peanut butter fudge is the holy grail of homemade confections, but achieving that elusive, professional-grade matte finish can be a challenge for home cooks. If you have ever struggled with grainy textures or oily surfaces, this recipe is your solution. Imagine sinking your teeth into a thick, oversized cube of peanut butter fudge that possesses a deep honey-tan hue and a flawless, satin-like surface.
This isn’t your average “quick” fudge; this is a scientifically balanced treat designed for maximum “melt-in-your-mouth” density. By using creamy roasted peanut butter and ensuring every grain of sugar is sifted, we create a uniform interior that looks as stunning as it tastes. Whether you are prepping for a holiday spread or just a weekend indulgence, this peanut butter fudge delivers a bakery-style result every single time.
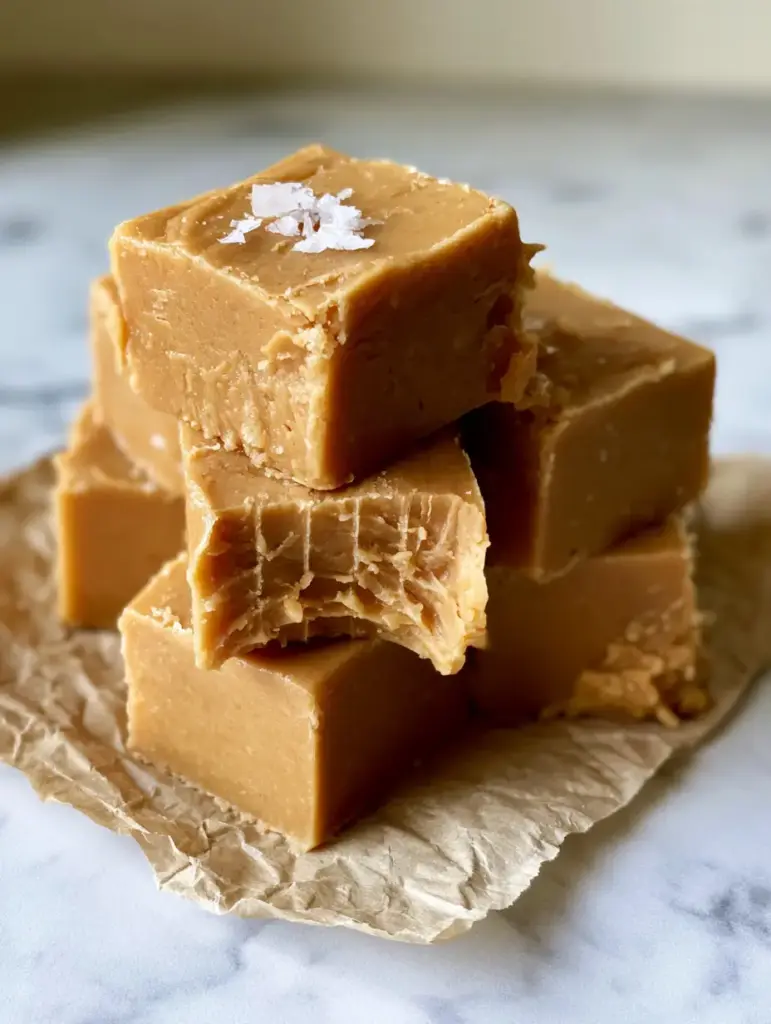
Why This Is The Only Peanut Butter Fudge Recipe You Need
- Unmatched Smoothness: We focus on temperature control and sifting to guarantee a zero-graininess experience.
- Matte-Satin Finish: Unlike greasy recipes, this fudge sets with a professional, non-reflective surface that looks incredible on camera.
- Perfect Salt Balance: The combination of salted butter and flaky sea salt garnish cuts through the sweetness for a sophisticated profile.
- Dense & Fudgy: This recipe avoids the “marshmallow fluff” texture in favor of a heavy, satisfying bite that mimics high-end artisanal fudge.
If you love the rich, buttery texture of this recipe, you should also check out our Salted Caramel Butter Bars or the ever-popular Cinnamon Roll Bliss Bars for your next baking session.
The Essential Ingredients for Silky Peanut Butter Fudge
To achieve the “Visual Recipe Blueprint” of a deep honey-tan color and smooth finish, the quality of your ingredients matters significantly.
Creamy Roasted Peanut Butter: 2 cups (480g). You want a high-quality, shelf-stable creamy peanut butter here. Natural oils that separate can cause the fudge to become greasy, so stick to a traditional roasted brand for that specific “melt-in-your-mouth” density.
Salted Butter: 1 cup (225g). The butter provides the fat necessary for that satin surface. Using salted butter adds a foundational layer of flavor that balances the heavy sugar content.
Sifted Powdered Sugar: 4 cups (500g). Crucial Step: You must sift the sugar. Even small clumps can ruin the flawless interior of your peanut butter fudge. Sifting ensures the sugar incorporates instantly into the warm fats.
Pure Vanilla Extract: 1 teaspoon (5ml). This acts as a flavor bridge, connecting the roasted notes of the peanuts with the sweetness of the sugar.
Flaky Sea Salt: For garnish. These crystals catch the light and provide a sharp, clean contrast to the dense, sweet fudge. This is the hallmark of a professional finish.
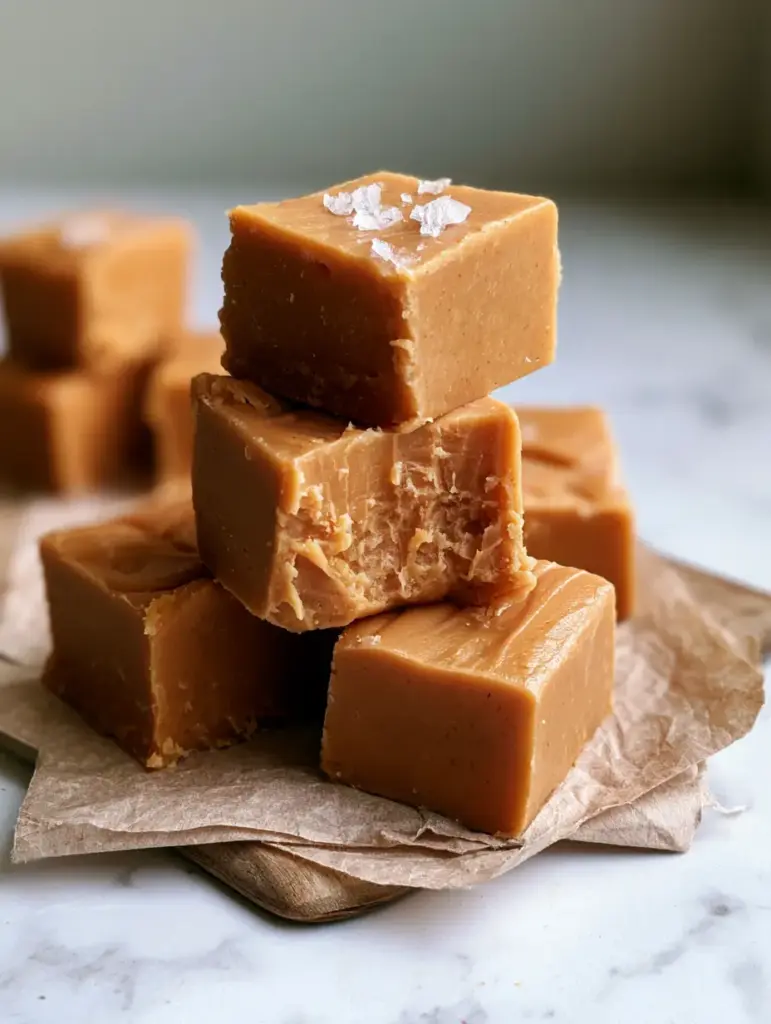
Mastering the Melt: A Step-by-Step Visual Guide
Phase 1: Melting the Golden Base
Begin by lining an 8×8 inch (20x20cm) square pan with rustic parchment paper. Leave an overhang on the sides so you can easily lift the peanut butter fudge out once it has reached its chilled, dense state. In a heavy-bottomed saucepan over medium-low heat, combine your salted butter and creamy roasted peanut butter.
Visual Cue: Stir constantly with a silicone spatula. You are looking for the two to emulsify into a singular, glossy liquid that resembles liquid gold. Do not let it boil; we only want enough heat to melt the fats so they can accept the sugar.
Phase 2: Incorporating the Satin Texture
Once the peanut butter and butter are fully combined, remove the pan from the heat. Stir in the vanilla extract. Now, begin adding your sifted powdered sugar one cup at a time. This is where the magic happens. As you fold the sugar into the warm fats, the mixture will transform from a liquid to a thick, heavy dough.
Sensory Cue: The mixture should be heavy and require some arm strength to stir. It will look slightly matte in the pan. If it looks oily, keep stirring until the oil is fully absorbed into the sugar solids.
Phase 3: The Set and the Finish
Transfer the mixture into your prepared pan. Use an offset spatula or a second piece of parchment paper to press the fudge down firmly. You want the surface to be perfectly flat and smooth. While the fudge is still slightly tacky, sprinkle three or four crystals of flaky sea salt onto where each future cube will be cut.
Place the pan in the refrigerator for at least 4 hours, though overnight is best for that “razor-sharp” focus on texture. Once chilled, lift the parchment, and use a sharp, warmed knife to cut the fudge into thick, oversized cubes.
For those who enjoy hosting, this fudge is a fantastic dessert to follow a hearty meal like our Nigerian Beef Stew or a comforting bowl of Lasagna Soup.
Expert Tips for No-Grain Peanut Butter Fudge
- Temperature Control: Never boil your butter and peanut butter mixture. Overheating the peanut butter can cause the oils to separate, leading to a grainy, oily mess rather than a matte finish.
- The Sifting Rule: If you skip sifting the powdered sugar, you will have white dots of sugar inside your honey-tan fudge. For that flawless interior, sifting is non-negotiable.
- Clean Cuts: To get the perfect cubes seen in our photos, dip your knife in hot water and wipe it dry between every single cut. This prevents the fudge from sticking and tearing.
- Quality Salt: Don’t use table salt for the garnish. The large, flat flakes of Maldon or similar sea salt are essential for the visual appeal and the specific “crunch” against the soft fudge.
Storage, Reheating & Freezing
To Store: Keep your peanut butter fudge in an airtight container in the refrigerator for up to 2 weeks. Place parchment paper between layers to prevent the cubes from fusing together.
To Freeze: This fudge freezes beautifully. Wrap individual oversized cubes in plastic wrap and place them in a freezer bag. They will stay fresh for up to 3 months. Thaw in the fridge for a few hours before serving to maintain the dense, creamy texture.
What to Serve With This Decadent Treat
Because this peanut butter fudge is so rich, it pairs best with items that offer high acidity or a salty contrast. A cup of strong, black coffee or a glass of cold milk is the classic choice. If you’re building a dessert board, try pairing it with fresh strawberries or even a bit of Frozen Strawberry Chocolate for a variety of textures.
If you’re looking for a savory breakfast to balance out the sugar from the day before, our Sausage Egg and Hashbrown Casserole is a reader favorite that satisfies every time.
Frequently Asked Questions
It is not recommended. Natural peanut butter (the kind you have to stir) is too unstable and oily for this specific matte finish. Use a standard creamy roasted peanut butter for the best density.
Yes, for the best ‘melt-in-your-mouth’ texture, store it in the fridge. While it is shelf-stable for a day or two, it will become softer at room temperature. Refrigeration maintains that dense, fudgey bite.
To get razor-sharp cubes, chill the fudge completely (at least 4 hours). Dip a sharp knife in hot water, wipe it completely dry, and make one clean slice. Repeat the dipping and drying for every single cut.
Graininess is usually caused by not sifting the powdered sugar or by boiling the peanut butter and butter mixture. Boiling causes the sugar to crystallize and the oils to separate. Always melt over low heat and sift your sugar.
The Ultimate 5-Ingredient Peanut Butter Fudge Recipe
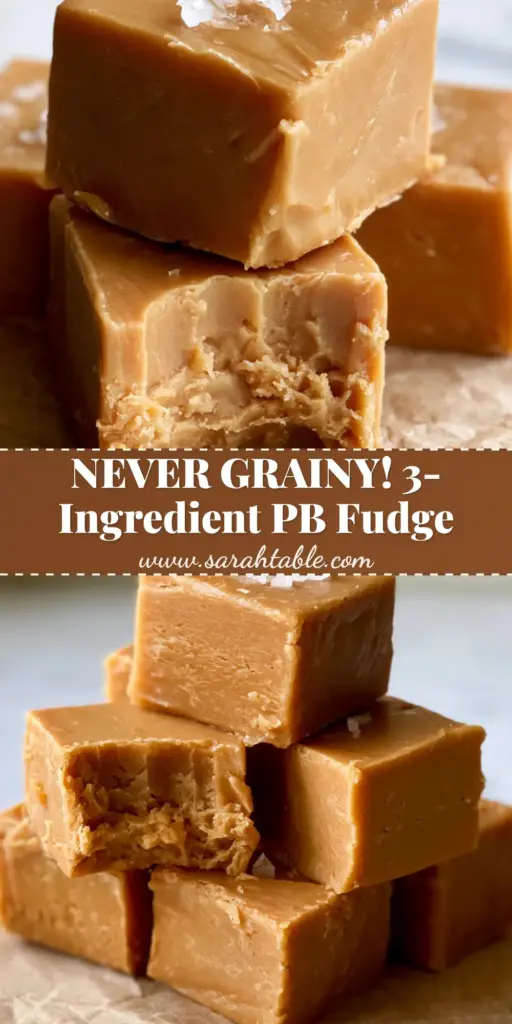
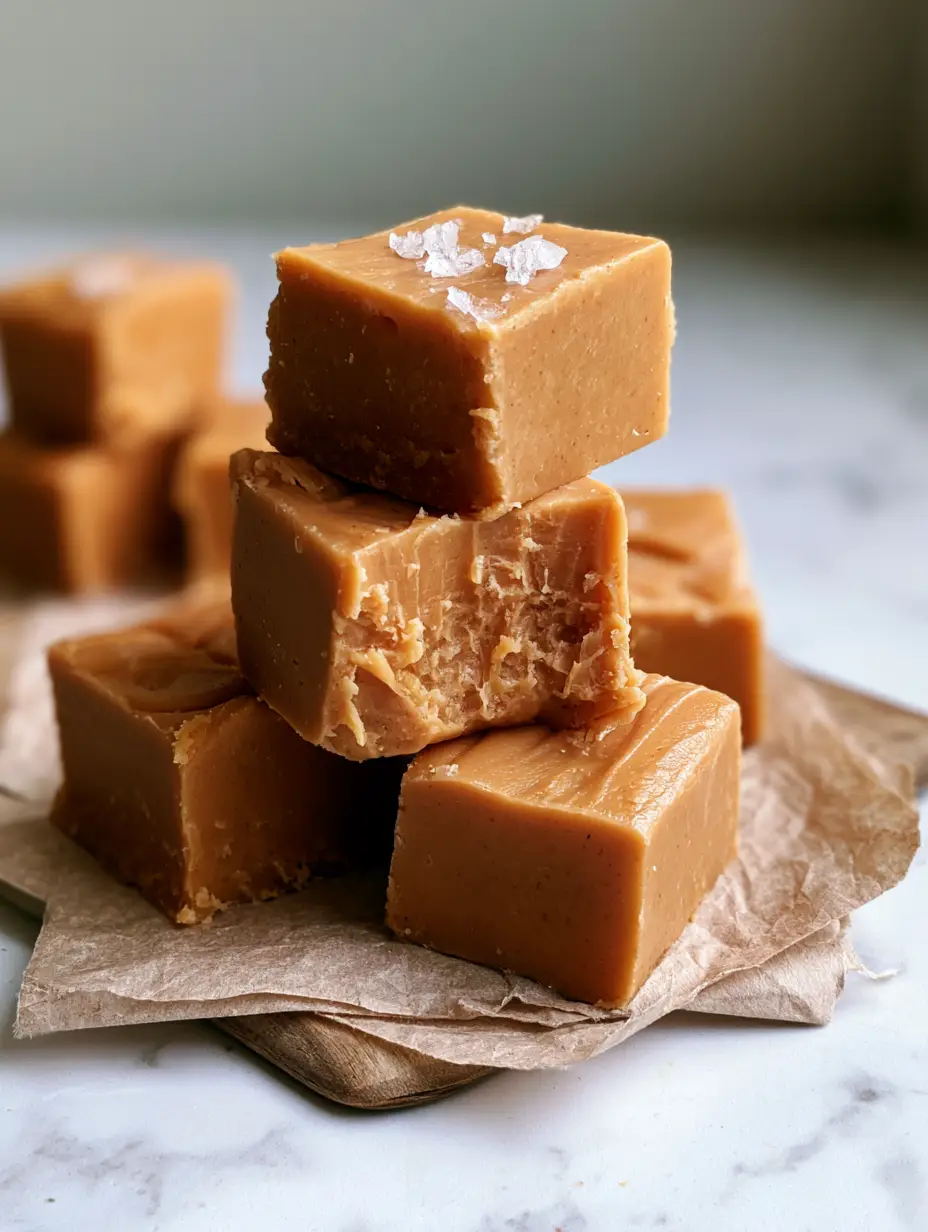
Peanut Butter Fudge: The Ultimate Creamy 5-Ingredient Recipe
Ingredients
Equipment
Method
- Line an 8x8 inch pan with parchment paper, leaving an overhang on two sides for easy removal.
- In a saucepan over medium-low heat, stir together the roasted peanut butter and salted butter until fully melted and glossy.
- Remove from heat and stir in the vanilla extract.
- Gradually fold in the sifted powdered sugar until a thick, matte dough forms and all oil is absorbed.
- Transfer the mixture to the pan and press firmly into an even layer with a smooth top.
- Sprinkle flaky sea salt crystals over the surface while still warm.
- Refrigerate for at least 4 hours before lifting from the pan and slicing into oversized cubes.
Notes
Use a hot, clean knife to cut the fudge for professional, sharp edges.
Join the Table & Share Your Results!
Did you achieve that flawless matte finish? We want to see! Save this peanut butter fudge recipe to your “Dessert Goals” board on Pinterest and follow sarah_table for more elite kitchen tutorials. If you made these, please leave a 5-star rating in the recipe card above and upload a photo of your thick cubes in the comments below. Your feedback helps our community of home cooks grow!