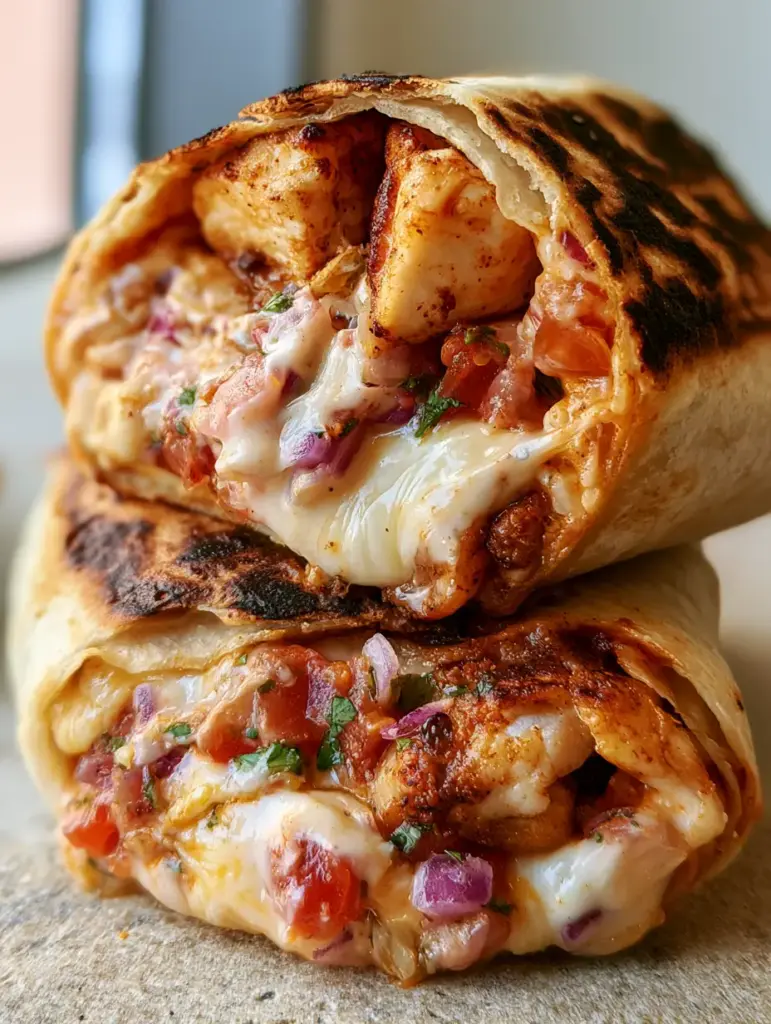
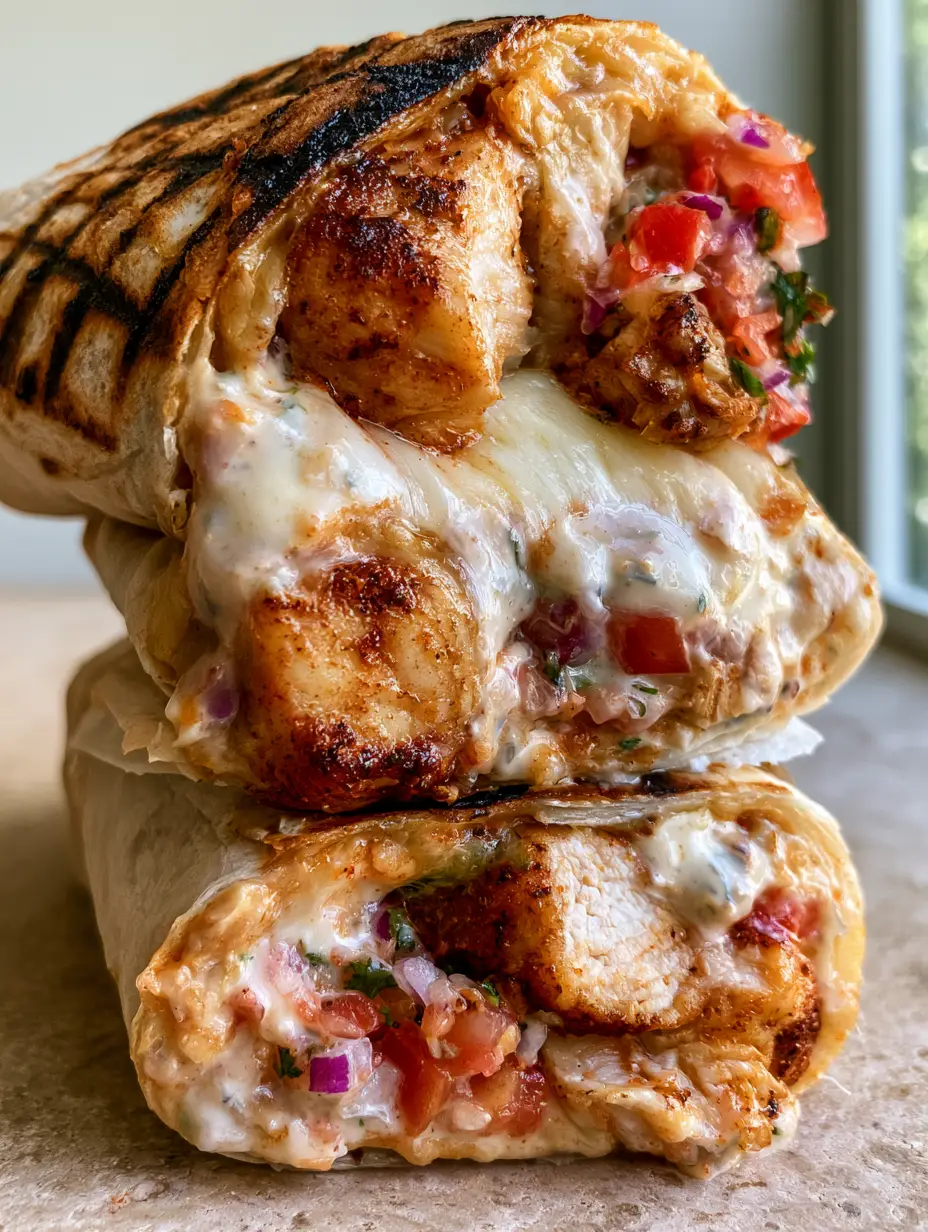
There is nothing quite like the satisfaction of reaching into your freezer and pulling out a gourmet, hand-held meal that tastes like it came straight from a high-end taqueria. These Make-Ahead Chicken Burritos are designed specifically to bridge the gap between convenience and culinary excellence, featuring deeply charred tortillas and a cross-section of vibrant, fresh ingredients.
Imagine biting into a golden-brown flour tortilla that shatters slightly before revealing succulent chunks of mahogany-seared chicken and a velvety, stretchy layer of Monterey Jack cheese. This recipe isn’t just about assembling ingredients; it is about layering textures and flavors—from the pop of sweet corn to the bright acidity of lime crema—to ensure every bite remains juicy even after reheating.
Whether you are prepping for a busy week or stocking up for a friend, these Make-Ahead Chicken Burritos provide a reliable, high-protein solution that outperforms any store-bought alternative. Let’s dive into the science of the perfect burrito build and the visual cues that guarantee a five-star result every single time.
Why These Make-Ahead Chicken Burritos Are a Meal Prep Game Changer
- The Perfect Char: We use a high-heat griddle technique to ensure the flour tortillas have those signature dark charred grill marks for a smoky, crispy exterior.
- Juicy Mahogany Chicken: Our specialized taco seasoning creates a rich, dark crust on the chicken breast, locking in moisture during the searing process.
- Textural Contrast: The combination of creamy lime crema, chunky pico de gallo, and firm black beans creates a professional-grade mouthfeel.
- Freezer-Stable Engineering: Each ingredient is chosen for its ability to withstand freezing and reheating without becoming soggy or bland.
The Anatomy of a Perfect Burrito Filling
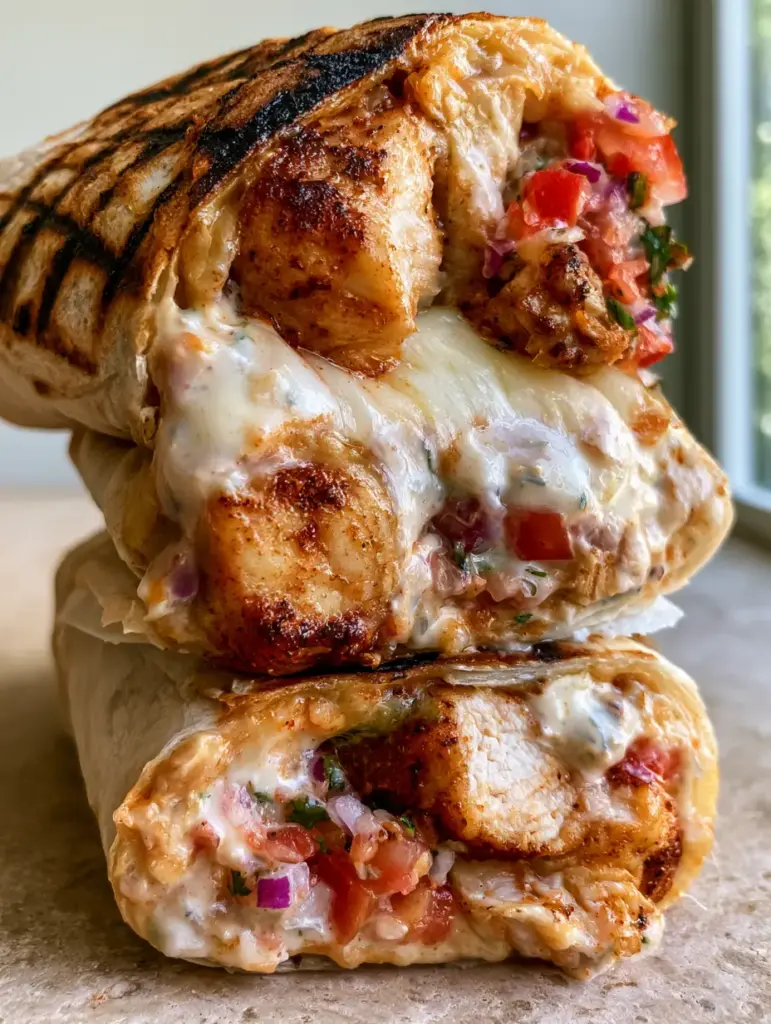
To achieve the visual and structural success seen in our blueprint, every ingredient must serve a purpose. We don’t just use “chicken”; we use seared seasoned chicken breast to provide the protein backbone of the dish.
Large Flour Tortillas: Use 10 or 12-inch (25-30cm) tortillas to allow enough room for a generous filling without the risk of tearing. The starch content in flour tortillas is essential for achieving those beautiful charred marks when griddled.
Seasoned Chicken Breast: We use 1.5 lbs (680g) of chicken breast, cubed small. The “mahogany” finish comes from a blend of smoked paprika, chili powder, and cumin, which caramelizes beautifully against the meat.
Monterey Jack Cheese: This is the king of melting cheeses. Its high moisture content and mild flavor provide that iconic “stretchy” texture that intermingles with the sauce as it heats.
Velvety Lime Crema: A blend of sour cream or Greek yogurt with fresh lime juice and zest. This acts as a moisture barrier and a flavor brightener that cuts through the richness of the cheese.
The “Chunky” Elements: Diced red tomatoes, minced red onions, and fresh cilantro form a quick pico de gallo. These add a fresh, cool contrast to the warm chicken and beans.
Fiber & Texture: Black beans and sweet corn kernels add earthy notes and a satisfying “pop.” For more bean-forward inspiration, you might also enjoy these hearty black bean enchiladas.
Essential Culinary Tools for Burrito Success
Achieving a professional-grade Make-Ahead Chicken Burrito requires more than just a microwave. You need the right tools to create the textures that define this dish.
A heavy-bottomed cast iron skillet or a griddle pan is non-negotiable for the chicken and the final tortilla sear. The heat retention of cast iron is what creates that deep mahogany crust on the meat and the dark char marks on the tortilla.
You will also need high-quality aluminum foil or parchment paper for the “make-ahead” portion. Tight wrapping is the secret to preventing freezer burn and keeping the burrito’s shape intact during storage.
Step-by-Step Instructions for the Perfect Burrito Build
Phase 1: Creating the Mahogany Seared Chicken
Pat your chicken breasts dry with paper towels—this is the most important step for a good sear. Moisture is the enemy of the “mahogany” crust we are looking for.
Toss the cubed chicken in a bowl with 1 tbsp (15ml) of avocado oil and your seasoning blend. Ensure every piece is coated in the dark red spices.
Heat your skillet over medium-high heat until it just begins to smoke. Add the chicken in a single layer, leaving space between pieces. Do not stir for at least 2 minutes; you want to see a deep, dark brown crust develop before flipping.
Phase 2: Preparing the Creamy Lime Crema and Fresh Salsa
While the chicken cools slightly, whisk together 1/2 cup (120ml) of sour cream with the juice of half a lime and a pinch of salt. It should be thick and velvety.
In a separate bowl, toss your diced tomatoes, minced red onions, and chopped cilantro. This fresh element is what makes these Make-Ahead Chicken Burritos taste “fresh-made” even after they’ve been frozen.
Phase 3: Assembly and the Precision Fold
Lay a tortilla flat and spread a tablespoon of lime crema in the center. This creates a “glue” for the rest of the ingredients.
Layer the ingredients in this order: Monterey Jack cheese, seared chicken, black beans, corn, and finally the tomato-onion-cilantro mixture. This layering ensures the cheese is closest to the heat sources during reheating.
Fold the sides in, then roll tightly from the bottom. The burrito should feel firm and heavy in your hand.
Phase 4: The Final Sear for Maximum Flavor
Place the assembled burrito seam-side down on a hot, dry griddle. Press down lightly with a spatula.
Wait until you see dark, charred grill marks and the tortilla turns a beautiful golden brown. Flip and repeat on the other side. This step “seals” the burrito and develops a crispy texture that holds up during the freezing process.
Expert Tips for Long-Term Storage and Reheating
- Cool Before Wrapping: Never wrap a hot burrito. Let the burritos reach room temperature to prevent steam from getting trapped inside the foil, which leads to a soggy tortilla later.
- Double Protection: Wrap each burrito tightly in foil, then place all wrapped burritos into a heavy-duty freezer bag to prevent ice crystal formation.
- The Oven Method: For the best results, reheat in an oven or toaster oven at 375°F (190°C) while still in the foil. This keeps the inside juicy while the outside stays crisp.
- Microwave Hack: If you are in a rush, remove the foil, wrap in a damp paper towel, and microwave for 2-3 minutes. This mimics a steamer and keeps the tortilla soft.
Creative Pairings and Serving Suggestions
While these Make-Ahead Chicken Burritos are a complete meal on their own, they pair beautifully with side dishes that complement their smoky profile. If you are looking for more variety in your meal prep routine, check out our easy lunch recipes for moms for more quick-hit ideas.
For a lighter side, a simple green salad with a lime vinaigrette works wonders. If you are serving these for a weekend dinner, consider pairing them with chicken stuffed poblano peppers for a full Mexican-inspired feast.
And if you have extra chicken seasoning left over, it works perfectly for a quick batch of keto chicken bacon ranch taquitos later in the week!
Frequently Asked Questions
Yes! When diced finely and mixed with the other ingredients, the pico de gallo holds up well. However, for the best texture, keep the ‘chunky’ salsa elements small.
The key is to let all cooked ingredients, especially the chicken, cool to room temperature before assembly. Additionally, searing the tortilla at the end creates a moisture barrier.
When wrapped tightly in foil and stored in a freezer-safe bag, these burritos will stay fresh and delicious for up to 3 months.
The dark, rich color comes from a high-heat sear combined with a seasoning blend of smoked paprika and chili powder, which caramelizes on the surface of the meat.
For a crispy exterior, reheat in the oven at 375°F (190°C) for 20 minutes while wrapped in foil. For a soft texture, microwave in a damp paper towel for 2-3 minutes.
The Ultimate Make-Ahead Chicken Burritos Recipe Card
Make-Ahead Chicken Burritos: The Ultimate Freezer-Friendly Meal Prep Guide
Ingredients
Equipment
Method
- Toss cubed chicken with taco seasoning and oil. Sear in a hot cast iron skillet until a deep mahogany crust forms and chicken is cooked through.
- Whisk sour cream and lime juice together until velvety. In a separate bowl, combine tomatoes, red onions, and cilantro.
- Layer crema, cheese, chicken, beans, corn, and salsa on the tortilla. Fold and roll tightly.
- Place burritos on a hot griddle for 1-2 minutes per side until dark charred grill marks appear.
Notes
Reheat in the oven at 375°F for the best texture.
Bringing the Taqueria to Your Freezer
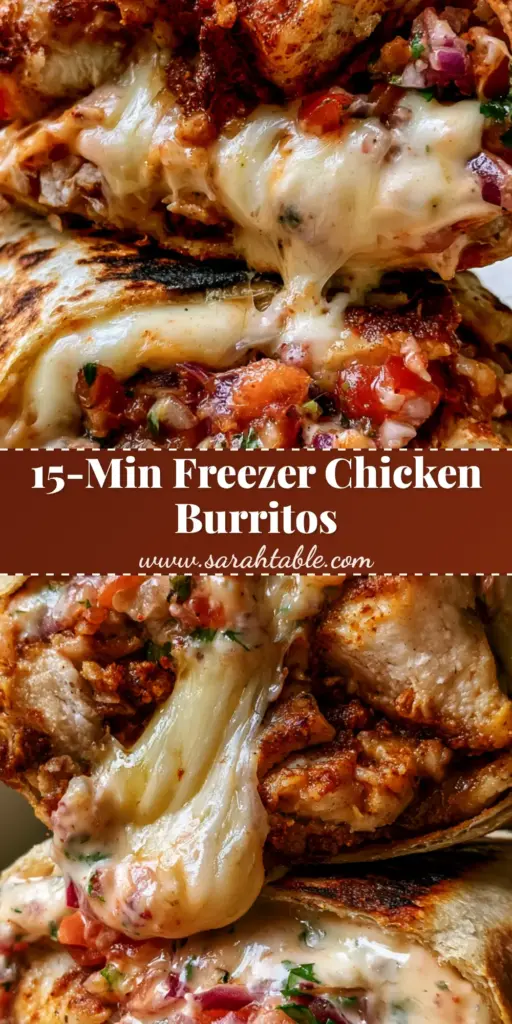
Mastering the Make-Ahead Chicken Burritos is a skill that will save you time, money, and hunger-induced stress. By focusing on the visual cues—the charred tortilla, the mahogany chicken, and the melting cheese—you ensure that “frozen food” no longer means “boring food.”
We would love to see your meal prep wins! If you make these, please leave a comment below or share your photos with us. Don’t forget to follow our board on Pinterest for more culinary inspiration and freezer-friendly secrets.