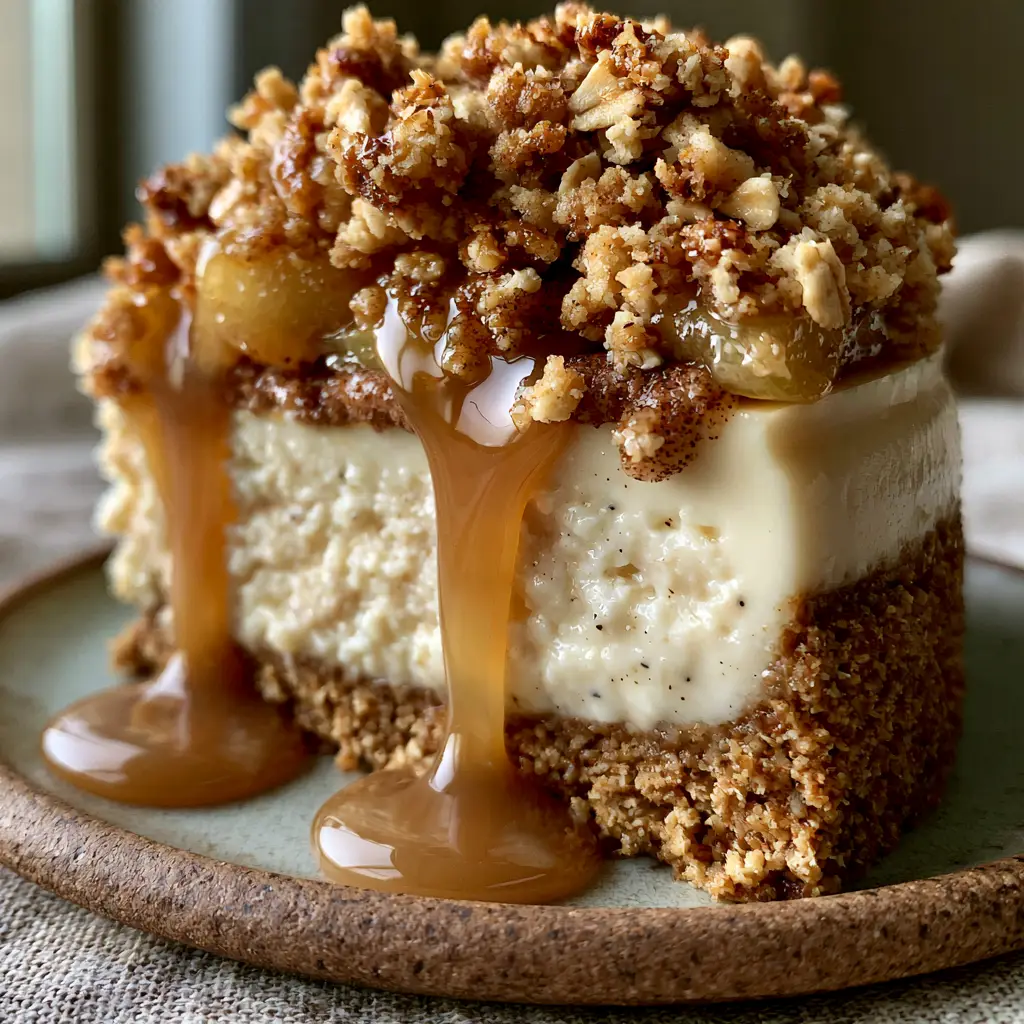
This Salted Caramel Apple Pie Cheesecake is the ultimate show-stopping dessert that combines three iconic treats into one decadent slice. Imagine a thick, buttery graham cracker crust topped with a velvety vanilla bean cheesecake, a layer of cinnamon-spiced stewed apples, and a heavy crown of toasted oat streusel. To finish, a viscous, translucent amber-colored salted caramel sauce drips down the sides, pooling perfectly at the base. Whether you are looking for the perfect Thanksgiving centerpiece or a weekend baking project, this Salted Caramel Apple Pie Cheesecake delivers professional-grade results from your home kitchen.
Why You Will Love This Triple-Layer Apple Cheesecake
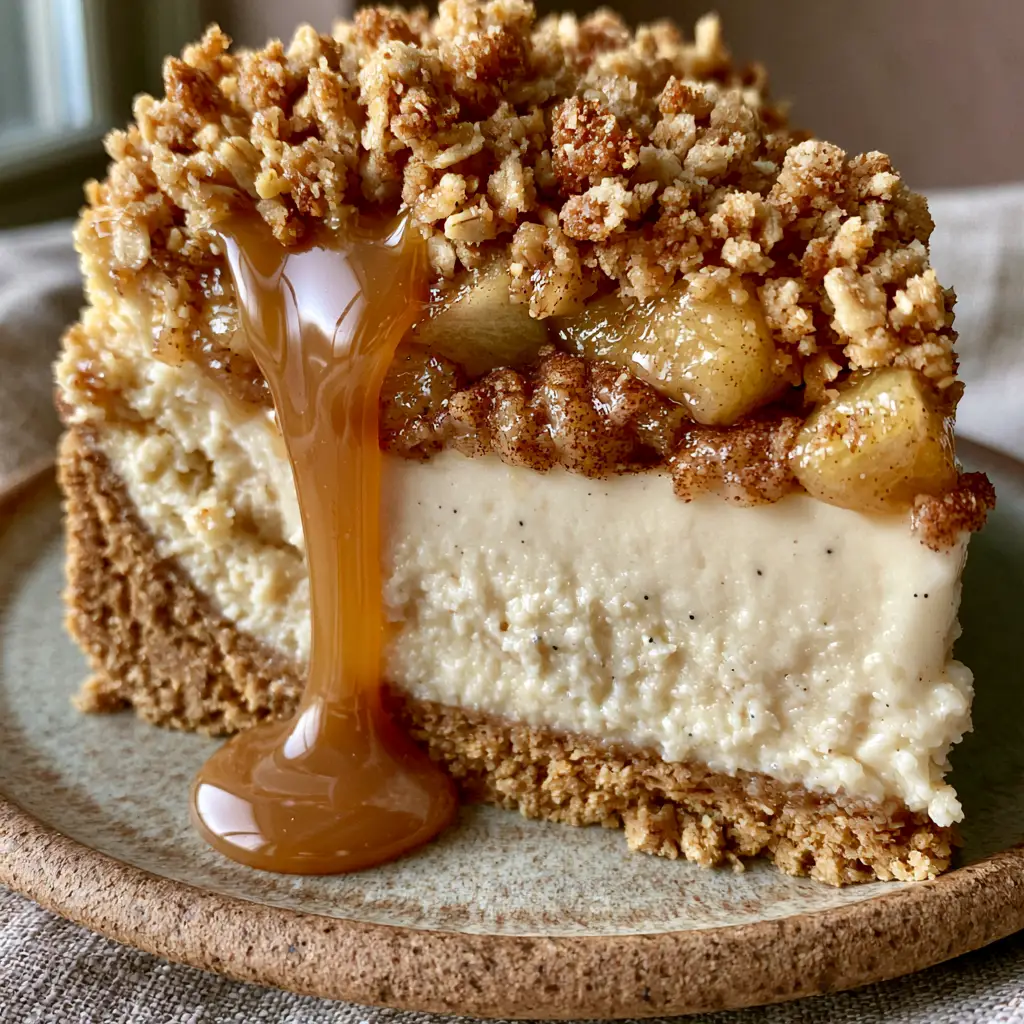
- Visual Texture Mastery: The side profile shows distinct, beautiful layers ranging from the pale ivory cheesecake to the warm amber caramel.
- Perfect Flavor Balance: The tartness of the Granny Smith apples cuts through the richness of the dense vanilla cream cheese layer.
- Crunch Factor: Unlike standard cheesecakes, the toasted oat streusel adds a necessary architectural crunch that mimics a deep-dish apple pie.
- Salted Caramel Finish: The addition of flaky sea salt elevates the sweetness, creating a complex, gourmet palate profile.
If you love the combination of rich caramel and warm spices, you might also want to try these Salted Caramel Butter Bars for a portable version of these flavors. For those who enjoy a cozy breakfast twist, our Cinnamon Roll Bliss Bars offer a similar spice profile.
The Essential Ingredients for Success
To achieve the Salted Caramel Apple Pie Cheesecake seen in the photos, quality ingredients are non-negotiable. Here is what you will need for each structural component.
The Buttery Graham Cracker Base
- 2 cups (200g) Graham Cracker Crumbs: Finely ground to ensure a compacted, sturdy base that doesn’t crumble when sliced.
- 1/2 cup (115g) Unsalted Butter: Melted to bind the crumbs into a golden-brown crust.
- 2 tbsp (25g) Granulated Sugar: For a slight caramelization during the pre-bake.
The Velvety Vanilla Cheesecake Middle
- 24 oz (680g) Full-Fat Cream Cheese: Must be at room temperature to ensure a smooth, dense, pale ivory texture without lumps.
- 1 cup (200g) Granulated Sugar: Provides the structural sweetness.
- 1 cup (240g) Full-Fat Sour Cream: Adds the signature cheesecake tang and a velvety mouthfeel.
- 1 tbsp (15ml) Vanilla Bean Paste: Essential for those visible vanilla bean specks shown in the visual blueprint.
- 3 Large Eggs: Added one at a time to prevent over-aeration.
Cinnamon-Spiced Stewed Apple Layer
- 3 Large Granny Smith Apples: Peeled and diced into 1/2 inch (1.25cm) chunks. Their tartness is vital for balance.
- 1 tsp (5g) Ground Cinnamon: For that warm, autumnal aroma.
- 2 tbsp (30g) Brown Sugar: To create a syrupy, caramelized coating.
Toasted Oat Streusel Topping
- 1/2 cup (45g) Old Fashioned Rolled Oats: Provides the “heavy crown” texture.
- 1/2 cup (65g) All-Purpose Flour: The binder for the crumble.
- 1/2 cup (100g) Brown Sugar: For a deep molasses flavor.
- 4 tbsp (55g) Cold Butter: Cubed to create distinct, pea-sized crumbs.
Step-by-Step Instructions to a Perfect Slice
Step 1: Constructing the Compressed Base
Preheat your oven to 325°F (165°C). Combine the graham cracker crumbs, sugar, and melted butter. Press the mixture firmly into the bottom of a 9-inch (23cm) springform pan. Pro Tip: Use the bottom of a flat measuring cup to compact the crust; a thick, compacted golden-brown graham cracker crust is the foundation of a stable slice.
Step 2: Preparing the Velvety Filling
In a large bowl, beat the room-temperature cream cheese and sugar until just smooth. Mix in the sour cream and vanilla bean paste until the visible vanilla bean specks are evenly distributed. Add the eggs one at a time on low speed. Visual Cue: The batter should be smooth and dense, resembling pale ivory silk.
Step 3: Stewing the Cinnamon Apples
In a small skillet over medium heat, toss the diced apples with brown sugar and cinnamon. Cook for 5-7 minutes until the apples are tender and caramelized. They should be coated in a light syrup but still hold their shape. Let them cool slightly before adding them to the cheesecake.
Step 4: The Heavy Oat Streusel Crown
Whisk the oats, flour, and brown sugar. Use your fingers or a pastry cutter to work in the cold butter until you have large, buttery clumps. This provides the toasted oat streusel crumble texture that defines the top layer of our Salted Caramel Apple Pie Cheesecake.
Step 5: The Layered Assembly & Bake
Pour the cheesecake batter over the crust. Gently spoon the stewed apples over the batter, ensuring they don’t sink to the bottom. Sprinkle the streusel generously over the top. Bake in a water bath for 60-70 minutes until the edges are set but the center still has a slight wobble.
Expert Tips for the Ultimate Cheesecake Texture
- The Water Bath is Mandatory: This prevents the surface from cracking and ensures the cheesecake remains dense and ivory-colored rather than browning too much.
- Cooling Cycle: Turn off the oven and crack the door for 1 hour after baking. Then, chill in the refrigerator for at least 6 hours. This is the secret to a clean side profile view when slicing.
- The Caramel Drip: Only apply the salted caramel sauce just before serving. The sauce should be viscous and translucent amber, dripping slowly down the side to create that professional “Pinterest-style” look.
- Flaky Sea Salt: A final pinch of flaky sea salt on top of the caramel pools is what bridges the gap between a standard dessert and a gourmet experience.
For more decadent treats, you might enjoy our Frozen Strawberry Chocolate for a refreshing contrast, or perhaps our Cream Cheese French Toast Casserole for a brunch-inspired flavor profile.
Storage and Freezing Guidelines
To Store: Keep the Salted Caramel Apple Pie Cheesecake in an airtight container in the refrigerator for up to 5 days. Note that the streusel may soften slightly over time due to the moisture from the apples.
To Freeze: You can freeze the entire cheesecake (without the caramel drizzle). Wrap it tightly in plastic wrap and aluminum foil. Freeze for up to 3 months. Thaw overnight in the refrigerator before adding the fresh caramel and sea salt.
What to Serve with Salted Caramel Apple Pie Cheesecake
This dessert is incredibly rich, so it pairs best with a clean beverage. A cup of strong, black coffee or a glass of dry sparkling cider works beautifully to cleanse the palate between bites. For a festive gathering, serve it alongside a savory main like our Sausage Egg and Hashbrown Casserole if you are hosting a luxurious brunch party.
Frequently Asked Questions
Yes, you can use store-bought sauce, but ensure it is thick and viscous. If it’s too thin, it will run off the cheesecake rather than pooling beautifully at the base.
Yes, due to the dairy content in the cream cheese and sour cream, this cheesecake must be stored in the refrigerator. It also helps the layers stay firm for slicing.
Use a water bath (bain-marie) and ensure all your ingredients, especially the cream cheese, are at room temperature before mixing. Avoid over-beating the eggs.
Granny Smith apples are the best choice because their tartness balances the sweet caramel and rich cheesecake, and they hold their shape well when stewed.
The Ultimate Salted Caramel Apple Pie Cheesecake Recipe
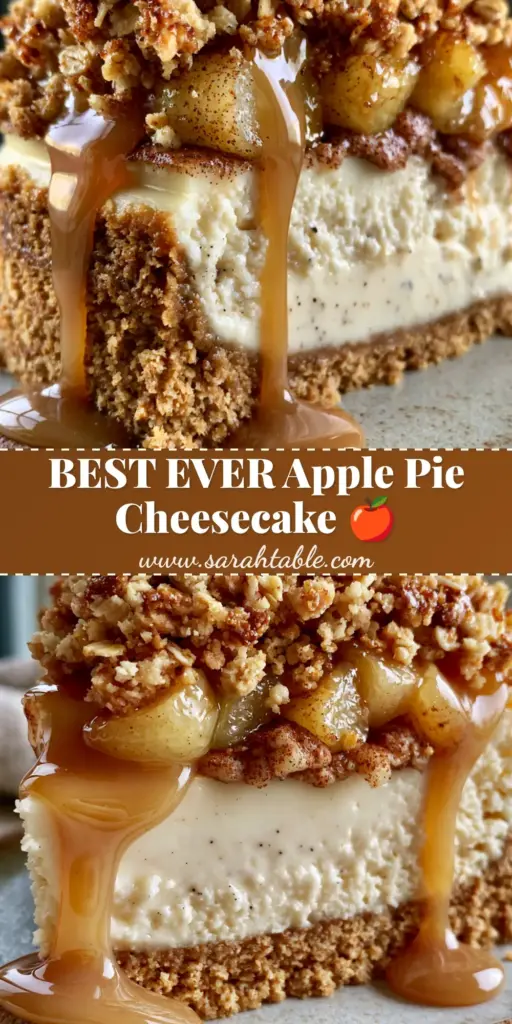
Salted Caramel Apple Pie Cheesecake with Toasted Oat Streusel
Ingredients
Equipment
Method
- Mix graham cracker crumbs, sugar, and melted butter. Press firmly into a 9-inch springform pan and pre-bake at 325°F (165°C) for 10 minutes.
- Sauté diced apples with cinnamon and brown sugar in a skillet until tender and caramelized.
- Beat cream cheese, sugar, and sour cream. Fold in vanilla bean paste and eggs until smooth and pale ivory.
- Layer filling, apples, and oat streusel. Bake in a water bath for 60-70 minutes until set with a slight wobble.
Notes
Chill for at least 6 hours before drizzling with caramel for the perfect drip.
Save This Recipe to Pinterest!
Did you love this Salted Caramel Apple Pie Cheesecake? If so, please save this recipe to your Dessert Board on Pinterest! We love seeing your recreations, so don’t forget to upload a photo of your tall, decadent slice in the comments below. Follow @sarah_table for more high-quality handheld smartphone photo-style recipes and elite baking tips. Please leave a 5-star rating if you enjoyed this dish!