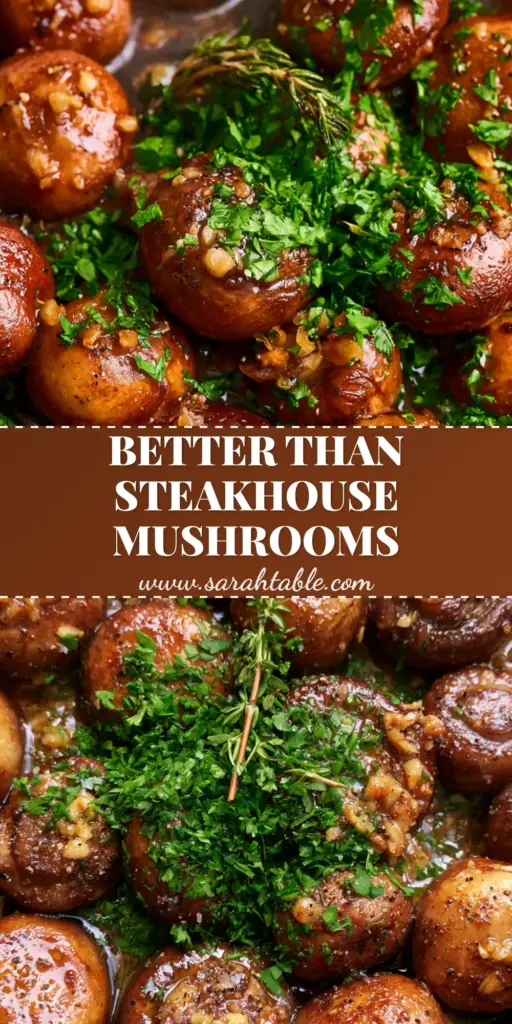
There is a specific culinary magic that happens when a humble fungus meets a roaring hot cast iron surface. These garlic mushrooms aren’t just a side dish; they are a masterclass in texture and flavor development. Imagine whole cremini mushrooms, seared to a deep, mahogany brown, shimmering under a thick glaze of melted salted butter and punctuated by the sharp, aromatic crunch of toasted garlic bits.
When you pull this seasoned skillet off the stove, the first thing you’ll notice are the wisps of steam carrying the scent of earthy thyme and rich butter. It’s a sensory experience that rivals any high-end steakhouse. Whether you are looking for a quick weeknight upgrade or a sophisticated holiday side, this technique ensures your mushrooms are never rubbery, never bland, and always the star of the plate.
Achieving the perfect sear requires patience and the right equipment. By following this forensic approach to mushroom cookery, you’ll transform simple ingredients into a glossy, umami-packed delight. If you’ve enjoyed our teriyaki mushrooms or our classic Texas Roadhouse mushroom recipe, this roasted garlic version will be your new favorite obsession.
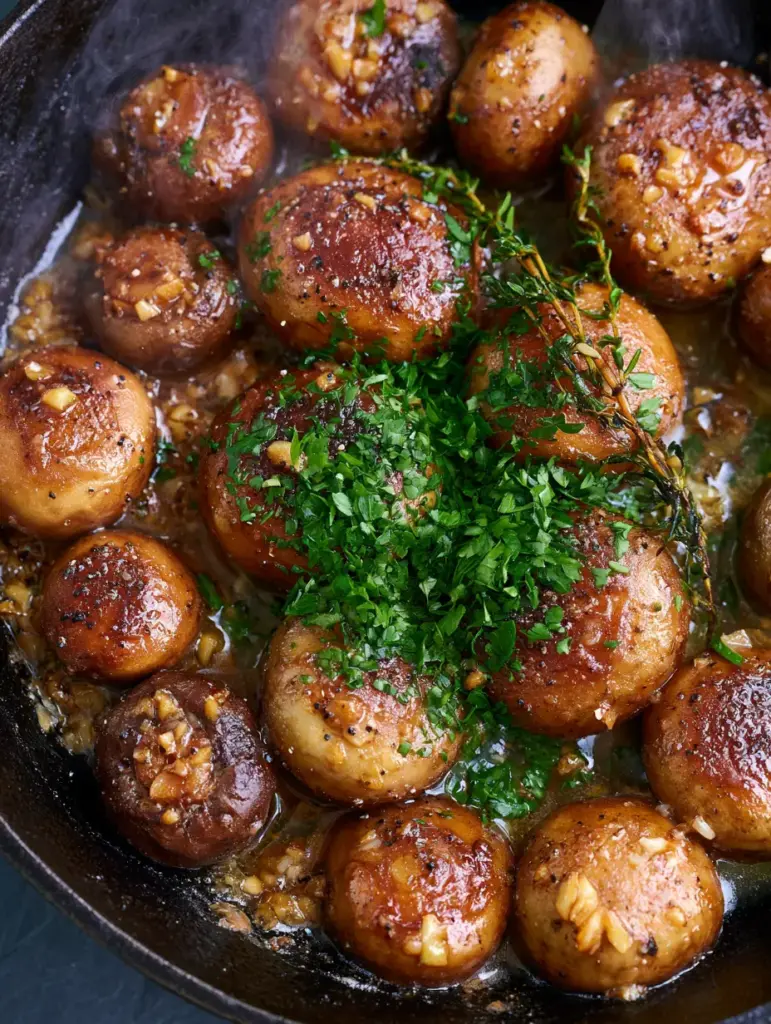
Why This Garlic Mushroom Recipe Redefines Umami
- The Perfect Sear: We utilize a dry-sear method in a seasoned cast iron skillet to achieve a deep golden-brown crust that locks in moisture.
- Glossy Butter Glaze: A final emulsification of salted butter creates a thick, restaurant-quality coating that clings to every mushroom cap.
- Textural Contrast: The combination of tender mushroom flesh, crispy toasted garlic bits, and fresh, crunchy parsley provides a multi-dimensional mouthfeel.
- Aromatic Depth: Using both fresh thyme sprigs and cracked black pepper ensures an earthy, sophisticated flavor profile that lingers on the palate.
The Anatomy of Flavor: Essential Ingredients for Garlic Mushrooms
Whole Cremini Mushrooms (16 oz / 454g): Also known as Baby Bellas, these offer a meatier texture and deeper flavor than white button mushrooms. Ensure they are wiped clean and completely dry to facilitate a proper Maillard reaction.
Salted Butter (4 tbsp / 57g): The salt in the butter helps season the mushrooms from the outside in, while the milk solids toast slightly to create a nutty, browned butter base for the glaze.
Fresh Garlic (5 cloves / 25g): We mince these finely to ensure they transform into those signature “roasted garlic bits” that stick to the mushroom caps during the final toss.
Neutral High-Smoke Point Oil (1 tbsp / 15ml): A small amount of avocado or grapeseed oil is used to jumpstart the sear without the risk of burning that butter would face at high temperatures.
Fresh Thyme & Parsley: The thyme sprig infuses the butter with woodsy notes, while the finely chopped parsley adds a necessary burst of color and herbaceous freshness at the finish.
Cracked Black Pepper & Kosher Salt: Coarse black pepper provides a gentle heat that cuts through the richness of the butter, while salt is added only at the end to prevent the mushrooms from leaching water too early.
Must-Have Equipment for a Professional Sear
To replicate the visual excellence of our garlic mushrooms, you’ll need a 12-inch (30cm) seasoned cast iron skillet. The heavy bottom retains heat better than stainless steel, allowing for a continuous sear even when the cold mushrooms hit the pan.
You will also need a sturdy metal spatula to occasionally turn the mushrooms and a sharp chef’s knife for mincing the garlic into uniform bits. A dark slate or wooden serving board provides the perfect backdrop for the vibrant green parsley and glistening brown mushrooms once they are ready to be served.
The Secret to That Deep Golden-Brown Crust
Phase 1: Preparing the Mushrooms for Heat
Clean your cremini mushrooms using a damp paper towel rather than rinsing them under the tap. Mushrooms act like sponges; any excess water will turn your sear into a steam, resulting in a rubbery texture rather than a crisp one.
Leave the mushrooms whole if they are small to medium-sized. This maintains a juicy interior that contrasts beautifully with the seared exterior. If you have exceptionally large mushrooms, a simple halve will suffice, but whole caps provide the best visual for our garlic mushrooms.
Phase 2: The High-Heat Dry Sear
Place your cast iron skillet over medium-high heat until it begins to shimmer. Add the neutral oil, swirling to coat the bottom. Carefully place the mushrooms in a single layer—do not crowd the pan, as this causes the temperature to drop and the mushrooms to boil in their own juices.
Let them sit undisturbed for 4-5 minutes. You are looking for a visual cue: the bottom of the mushrooms should be a deep, dark golden brown. Only once this crust has formed should you toss them to sear the remaining sides.
Phase 3: The Garlic Butter Infusion
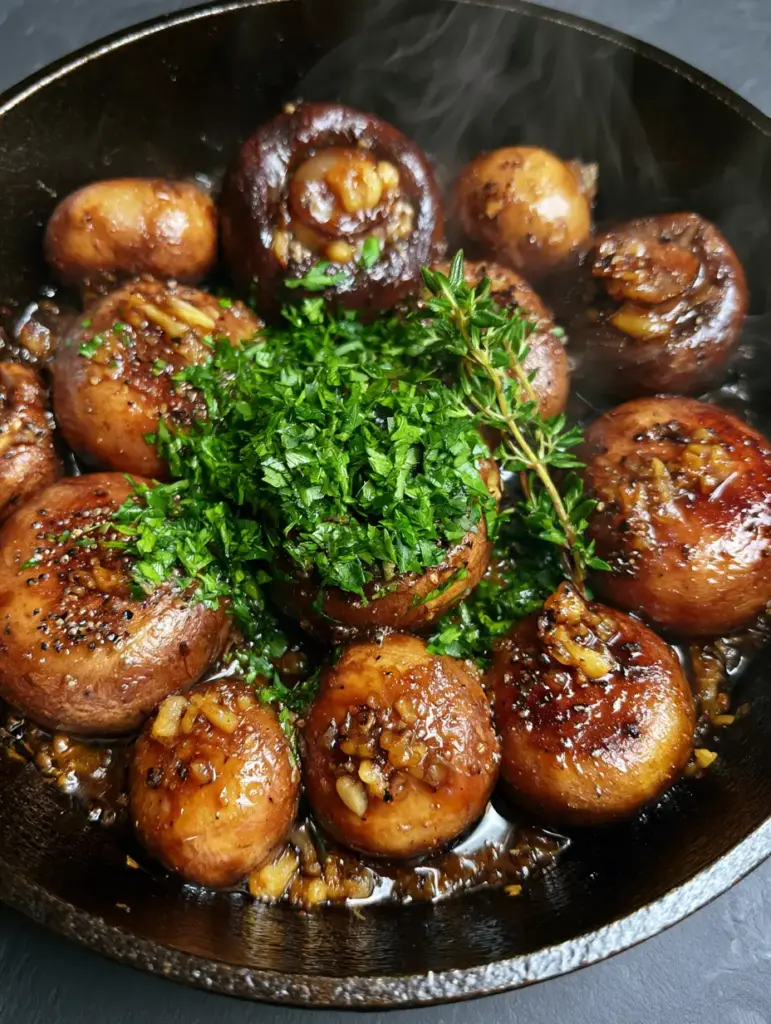
Once the mushrooms are beautifully browned, reduce the heat to medium and add the salted butter and the whole thyme sprig. As the butter melts and begins to foam, add the minced garlic bits. This is where the magic happens.
Spoon the foaming butter over the mushrooms repeatedly. Watch for the garlic to turn from white to a pale golden brown—this “toasting” phase creates the intense flavor profile characteristic of elite garlic mushrooms. Season generously with cracked black pepper and a pinch of salt.
Phase 4: Finishing Touches and Garnish
Remove the skillet from the heat while the butter is still bubbling. Toss in the finely chopped fresh parsley, ensuring it sticks to the glossy glaze. The residual heat will wilt the parsley just enough to release its oils without losing its vibrant green hue.
Discard the spent thyme sprig or replace it with a fresh one for presentation. Serve immediately while wisps of steam are still rising from the skillet, capturing that “just-off-the-stove” handheld photo aesthetic.
Expert Tips for Success
- Don’t Salt Early: Salt draws out moisture. If you salt the mushrooms at the start, they will sit in a pool of liquid and never brown. Always salt during the final 2 minutes.
- Crowding is the Enemy: If you are making a double batch, use two pans or cook in stages. Every mushroom needs its own space to touch the hot iron.
- Butter Temperature: If the butter starts to smoke or turn black, the heat is too high. You want “beurre noisette” (brown butter), not burnt butter.
- Garlic Size: Mince the garlic finely but not into a paste. Tiny bits provide the “roasted garlic bits” look seen in our visual blueprint.
Storage, Reheating, and Make-Ahead Advice
While garlic mushrooms are best served fresh from the skillet, leftovers can be stored in an airtight container in the refrigerator for up to 3 days. The butter will solidify, but it will melt back into a delicious sauce upon reheating.
To reheat, avoid the microwave as it can make the mushrooms rubbery. Instead, place them back in a small skillet over medium heat with a splash of water or a tiny knob of fresh butter. Stir gently until they are warmed through and glistening again.
The Best Pairings for Seared Mushrooms
These mushrooms are incredibly versatile. They are the natural companion to a protein-heavy main, such as our garlic butter baked salmon or the savory baked dijon salmon. The earthiness of the cremini also complements the sharpness of our parmesan mushrooms if you’re hosting a mushroom-themed dinner party.
For a vegetarian feast, serve these atop a slice of sourdough for the ultimate mushroom toast, or pair them with baked cauliflower steaks. They even work beautifully as a topping for a juicy steak or stirred into a creamy pasta.
Frequently Asked Questions
Yes, but you will need to increase the amount of kosher salt added at the end. Salted butter adds an extra layer of seasoned depth to the garlic butter glaze.
Always wipe cremini mushrooms with a damp paper towel. They are porous and act like sponges; washing them under a tap introduces excess water that prevents them from browning properly.
Add the garlic after the mushrooms are fully seared. If you add it at the start, the high heat required for browning the mushrooms will burn the garlic, making it bitter.
Rubbery mushrooms are usually caused by overcrowding the pan or washing them with too much water. Ensure they are bone-dry and cooked in a single layer with enough space to allow moisture to evaporate quickly.
Cast iron provides superior heat retention, which is essential for maintaining high temperatures when cold mushrooms are added, ensuring a fast and even Maillard reaction (browning).
The Perfect Garlic Mushrooms Recipe
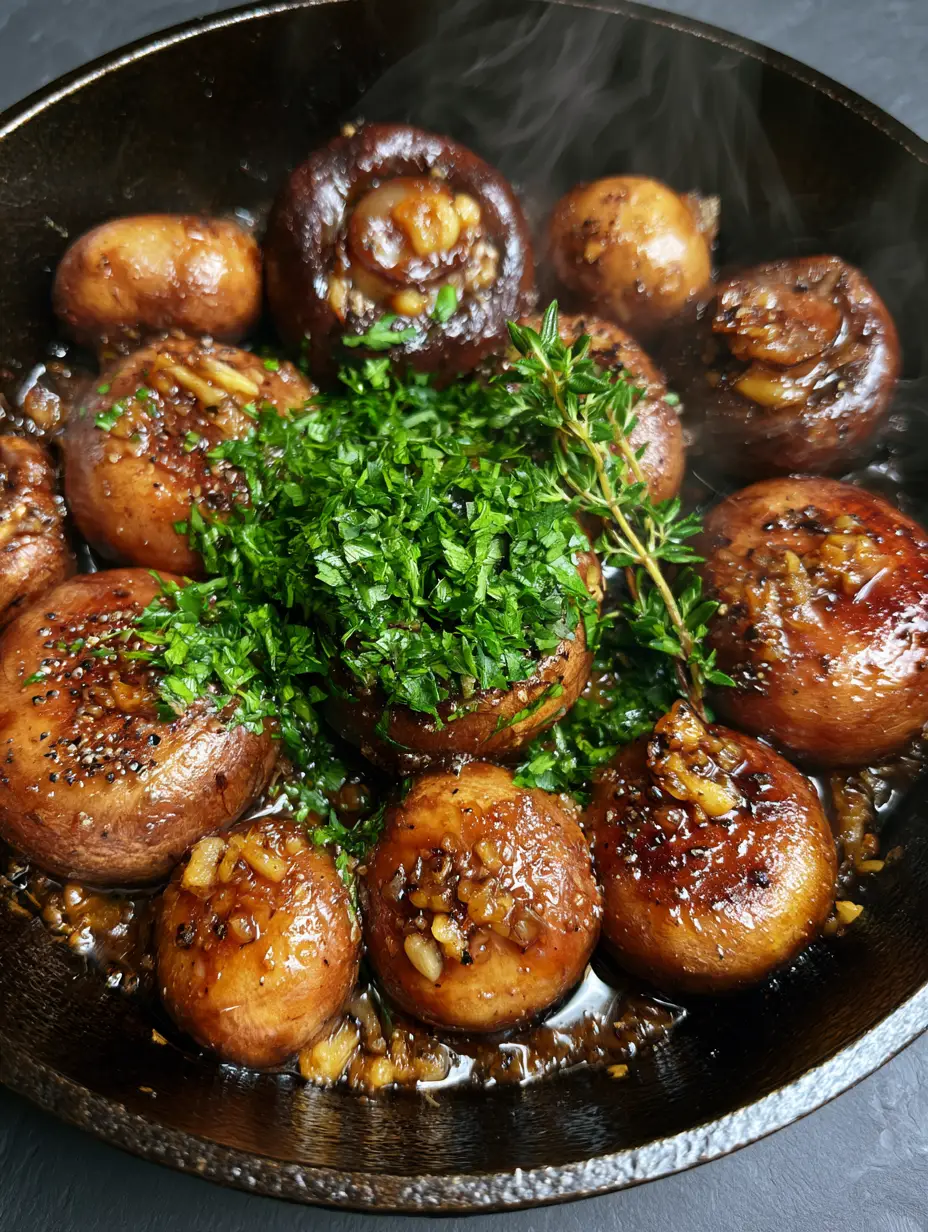
Garlic Mushrooms: The Ultimate Seared Cremini Side Dish with Roasted Garlic Butter
Ingredients
Equipment
Method
- Wipe the cremini mushrooms clean with a damp paper towel. Ensure they are bone-dry before cooking to achieve a perfect sear.
- Heat oil in a 12-inch cast iron skillet over medium-high heat. Add mushrooms in a single layer. Sear undisturbed for 4-5 minutes until deep golden-brown.
- Reduce heat to medium. Add butter and thyme sprig. Once butter foams, add minced garlic. Sauté for 2 minutes, spooning butter over mushrooms until garlic is toasted and golden.
- Season with cracked black pepper and salt. Toss well to ensure the thick glaze coats every mushroom cap.
- Remove from heat. Stir in chopped parsley. Serve immediately while steam is still rising from the pan.
Notes
Always add salt at the very end to prevent moisture loss during the browning phase.
Join the Community & Share Your Creations
We hope these garlic mushrooms become a staple in your kitchen. There is nothing quite like the satisfaction of a perfectly seasoned cast iron skillet full of golden-brown goodness. If you try this recipe, please leave a comment below and let us know how it turned out!
Don’t forget to pin this recipe to your favorite boards on Pinterest so you always have it on hand. If you’re looking for more seasonal inspiration, check out our collection of mushroom recipes to keep you warm all winter long!