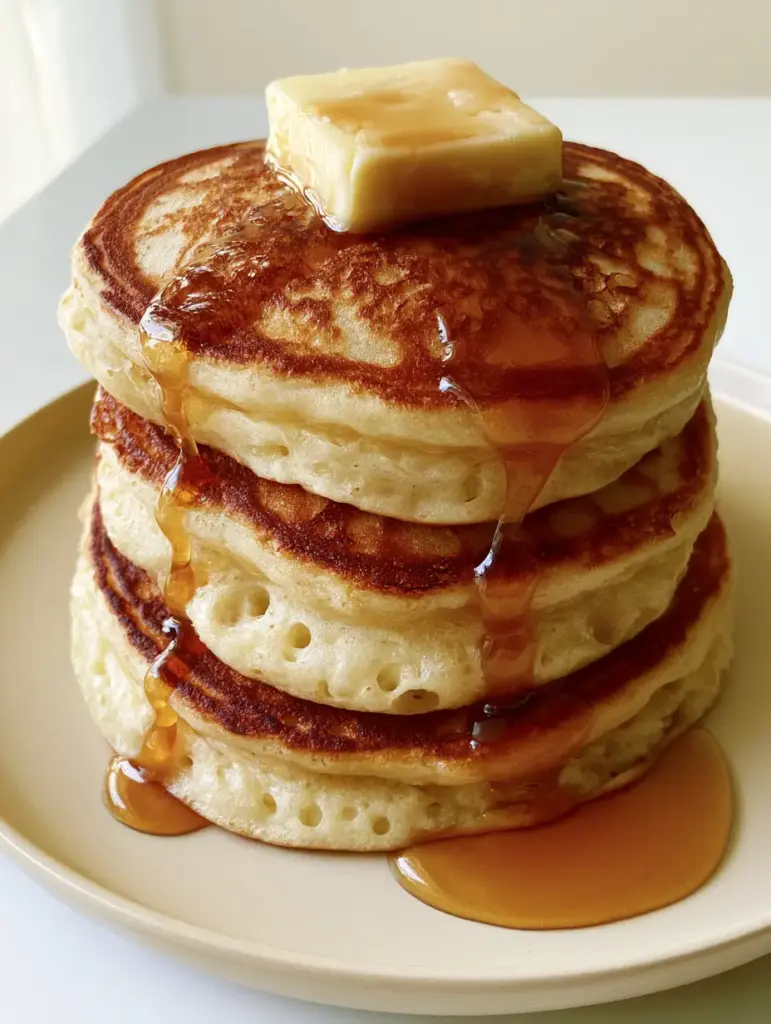
There is a specific, nostalgic magic in a stack of fluffy pancakes from scratch that tower over the plate, boasting a height of nearly two inches each. These aren’t your average, thin breakfast discs; these are architectural marvels with a golden-brown griddled surface and pale, airy sides that reveal a cloud-like interior. If you have ever wondered how professional kitchens achieve that impossibly pillowy texture and uniform golden glow, you are in the right place.
Achieving the perfect stack requires more than just a box mix; it requires an understanding of leavening science and heat management. By the end of this guide, you will be serving a vertical stack of three extraordinarily thick buttermilk pancakes on your favorite matte cream ceramic plate, looking exactly like a high-end brunch editorial. Get ready to master the soft morning light of your kitchen and create a breakfast that tastes even better than it looks.
The Anatomy of a Substantial Breakfast Stack
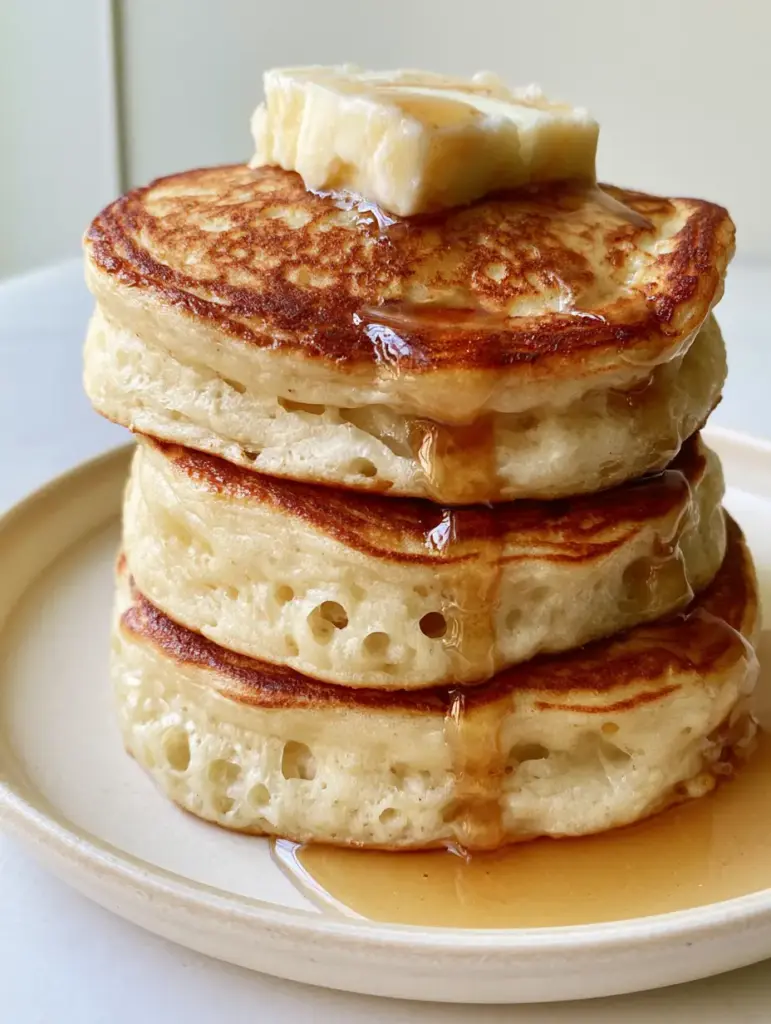
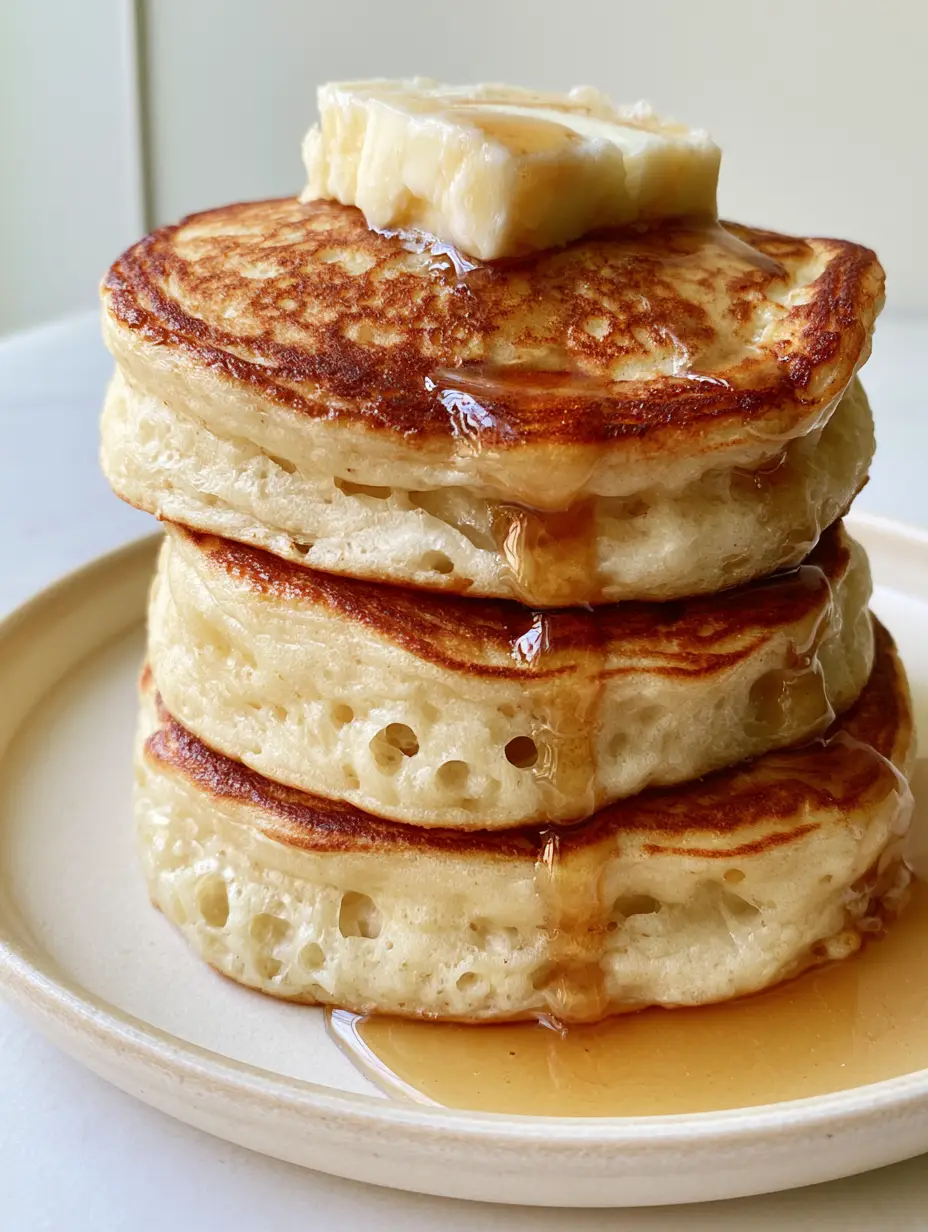
What makes a pancake truly elite? It is the contrast between the delicate lacy edges and the massive, airy rise of the center. When we talk about fluffy pancakes from scratch, we are looking for very specific visual and textural markers that define success.
- Structural Height: A true “cloud” pancake should stand nearly 2 inches (5cm) tall, achieved through a specific ratio of leavening agents to acidity.
- The Griddle Gradient: A uniform golden-brown top achieved through precise temperature control, contrasting with pale, porous sides.
- Airy Porous Sides: Visible bubbles and a pillowy crumb that indicates the batter was not overmixed and the leavening is active.
- The Glistening Finish: A large square of melting salted butter and viscous amber maple syrup cascading down the sides in glistening trails.
Essential Components for the Fluffiest Pancakes from Scratch
Every ingredient in this recipe serves a forensic purpose to ensure that your pancakes don’t just taste good, but stand tall and proud on the plate. We use a combination of chemical leaveners and acidic buttermilk to create the necessary lift.
All-Purpose Flour: 2 ½ cups (312g). This provides the essential gluten structure needed to hold those massive air bubbles without collapsing under the weight of the syrup.
Double-Acting Baking Powder: 1 tbsp (12g). This is the heavy lifter that creates the initial rise when the batter hits the heat and a secondary rise as it cooks.
Baking Soda: 1 tsp (6g). This reacts instantly with the buttermilk to create carbon dioxide, resulting in those “airy porous sides” mentioned in our visual blueprint.
Granulated Sugar: 3 tbsp (38g). Beyond sweetness, sugar aids in the Maillard reaction, giving us that “uniform golden-brown griddled surface” we crave.
Fine Sea Salt: 1 tsp (6g). Salt is a flavor enhancer that balances the richness of the butter and the sweetness of the amber syrup.
Full-Fat Buttermilk: 2 cups (480ml). The thick consistency and acidity are non-negotiable for achieving a 2-inch thickness and a tender, tangy crumb.
Large Eggs: 2 units. Eggs provide the protein structure that sets the pancake as it rises, ensuring it doesn’t deflate once removed from the heat.
Unsalted Butter (Melted and Cooled): 4 tbsp (56g). This fat coats the flour proteins, leading to a “pillowy texture” rather than a chewy or rubbery one.
Vanilla Bean Paste or Extract: 1 tsp (5ml). This adds a nostalgic, aromatic depth that pairs perfectly with salted butter. It’s a great way to elevate a simple meal, much like how you might find in our easy meal prep ideas.
The Tool Kit for Precision Griddling
To achieve the “handheld smartphone photo” quality of a perfect stack, you need the right tools to manage the heat and the batter volume. Precision is the difference between a flat cake and a 2-inch masterpiece.
- Heavy-Bottomed Non-Stick Skillet or Cast Iron Griddle: Even heat distribution is vital for that uniform golden-brown top.
- Large Measuring Scoop: Using a ½ cup (120ml) scoop ensures every pancake is the same size for a perfectly vertical stack.
- Thin Silicone Spatula: This allows you to get under the lacy edges without crushing the airy sides.
- Whisk and Glass Mixing Bowls: Gentle mixing is key to preserving the air bubbles created by the buttermilk reaction.
Mastering the Rise: Step-by-Step Instructions
Step 1: The Dry Sift for Maximum Aeration
In a large mixing bowl, whisk together the flour, baking powder, baking soda, sugar, and salt. Sifting or vigorous whisking removes clumps and ensures the leavening agents are perfectly distributed, which is the first secret to fluffy pancakes from scratch.
Step 2: The Buttermilk Emulsion
In a separate jug, whisk the buttermilk, eggs, and vanilla until fully combined. Slowly stream in the melted butter while whisking constantly to prevent the eggs from scrambling or the butter from clumping.
Step 3: The “Lumpy Batter” Rule
Make a well in the center of the dry ingredients and pour in the liquid. Use a spatula to fold the mixture together until *just* combined. Stop when you still see small streaks of flour; overmixing will develop too much gluten and result in a tough, flat pancake instead of an airy one.
Step 4: The Mandatory Rest
Allow the batter to sit for 10 minutes at room temperature. You will actually see the batter start to grow and bubble as the buttermilk reacts with the leaveners. This rest period is essential for the starch to hydrate and the internal structure to stabilize for that 2-inch height.
Step 5: Low and Slow Heat Control
Preheat your griddle over medium-low heat. You want the surface to be hot enough to sear, but low enough to allow the thick 2-inch interior to cook through. Lightly grease the surface with a small amount of butter or neutral oil.
Step 6: The Pour and the Flip
Scoop ½ cup (120ml) of batter onto the griddle. Do not spread it out; let it sit in a thick mound. Cook until you see large, visible bubbles forming on the surface and the edges look set and “lacy.” This should take about 3-4 minutes.
Step 7: The Glistening Finish
Carefully flip the pancake. The bottom should be a uniform, deep golden brown. Cook for another 2-3 minutes until the sides look pale and airy but the center feels firm to the touch. Stack three high on a matte ceramic plate while still warm.
Expert Strategies for Pancake Perfection
- Temperature Check: If the outside is dark but the inside is gooey, your heat is too high. Lower the flame and wait two minutes before the next batch.
- The Butter Pat: Place a large square of salted butter on the top pancake immediately after stacking so it begins to melt and create those glistening trails.
- Syrup Viscosity: Warm your amber maple syrup slightly before pouring; this ensures it cascades slowly and pools beautifully at the bottom.
- Wipe the Pan: Between batches, wipe the griddle to prevent burnt butter bits from ruining the golden-brown surface of the next stack.
Savoring the Stack: Pairings and Occasions
While these fluffy pancakes from scratch are a meal on their own, they fit perfectly into a larger brunch spread. If you are looking for more morning inspiration, you might enjoy our healthy snack alternatives for a balanced week.
For a savory contrast, serve these alongside thick-cut bacon or a light salad. If you’re transitioning from breakfast to a late lunch, consider something like our comforting dinner recipes to round out your culinary day. The richness of the salted butter and syrup demands a strong cup of black coffee or a bright citrus juice to cleanse the palate.
Preserving Your Masterpiece: Storage and Reheating
While best served fresh in that soft morning light, you can store leftovers. Place cooled pancakes in an airtight container with parchment paper between them. They will last in the refrigerator for up to 3 days or in the freezer for up to 2 months.
To reheat, avoid the microwave as it can make them rubbery. Instead, use a toaster oven or a dry skillet over low heat to revive the golden-brown crust and maintain the airy interior texture.
Common Questions About Substantial Pancakes
While you can use milk with a teaspoon of lemon juice, true buttermilk is thicker and more acidic, which is essential for achieving the 2-inch height and airy texture.
This is achieved by using a thick batter and cooking over medium-low heat. The height prevents the sides from touching the pan, allowing them to steam and stay pale while the top browns.
For a uniform golden-brown surface, a very light coating of neutral oil is best. Butter adds flavor but contains milk solids that can burn and cause spotting.
A temperature of approximately 325°F (165°C) or a medium-low setting on a stove is ideal. This allows the pancake to rise and cook through without burning the surface.
The most common reasons are overmixing the batter, which develops gluten, or using expired baking powder. Ensure you leave lumps in the batter and rest it for 10 minutes.
The Ultimate Fluffy Pancakes from Scratch Recipe
Fluffy Pancakes from Scratch: The Ultimate Guide to 2-Inch Thick Diner-Style Stacks
Ingredients
Equipment
Method
- In a large bowl, whisk together flour, baking powder, baking soda, sugar, and salt.
- In a separate jug, whisk buttermilk, eggs, melted butter, and vanilla.
- Fold wet ingredients into dry until just combined, leaving small lumps.
- Let the batter sit for 10 minutes to activate the leavening.
- Preheat a skillet over medium-low heat and lightly grease with butter.
- Scoop 1/2 cup of batter per pancake. Cook for 3-4 minutes until bubbles form and edges are set.
- Flip carefully and cook for 2-3 minutes more until the surface is golden brown and the interior is airy.
Notes
Keep heat medium-low to ensure the 2-inch thick center cooks through without burning the top.
Conclusion: Your Path to Brunch Mastery
Creating 2-inch thick fluffy pancakes from scratch is a rewarding culinary skill that transforms a simple breakfast into an event. By following these scientific principles of leavening and heat, you can produce a stack that looks like a professional photograph every single time. Don’t forget to capture your creation in the morning light and share your results! For more inspiration, visit my Pinterest and let me know how your stack turned out in the comments below.