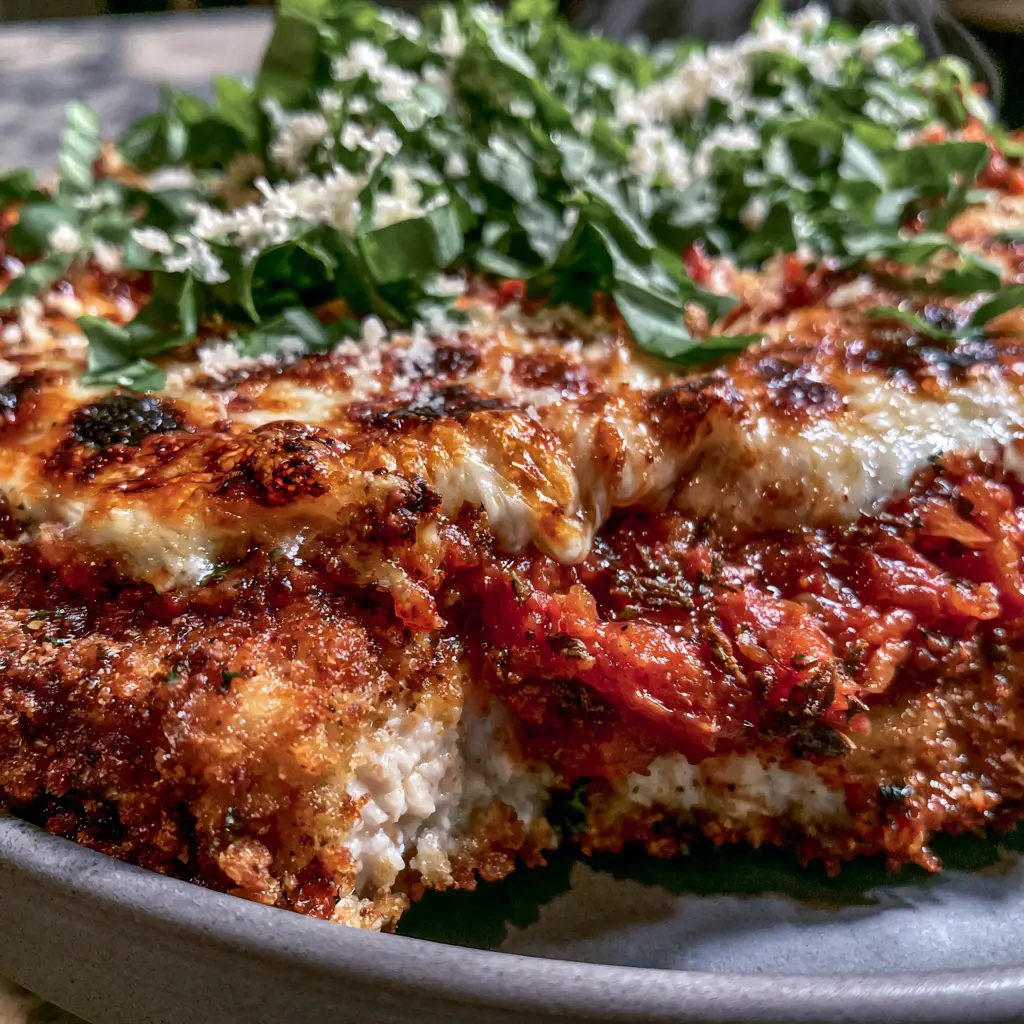
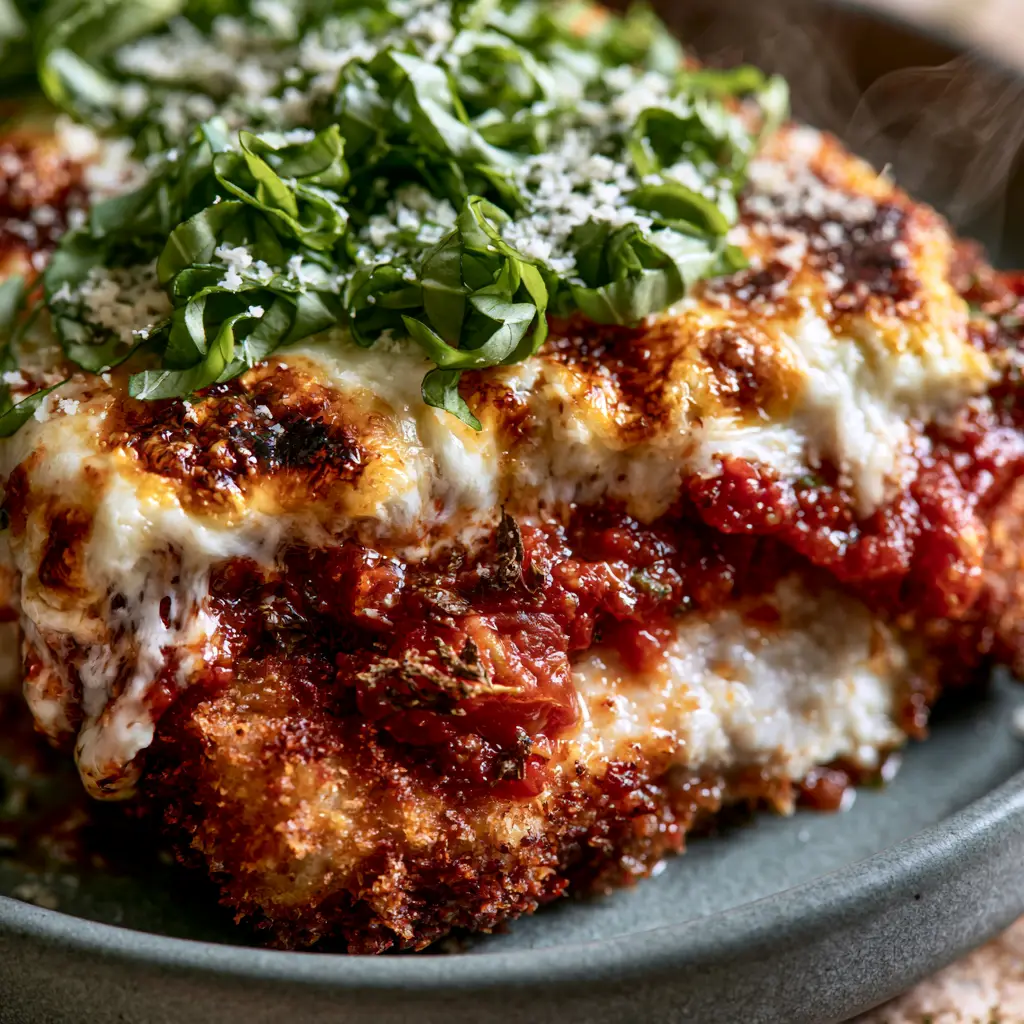
There is a specific kind of culinary magic that happens when a Pork Parmigiana is executed with professional precision. Imagine a thick, juicy, tender white pork loin enveloped in a heavy golden-brown crispy breaded crust that shatters upon impact. Then, picture that crust supporting a thick pool of vibrant red marinara sauce, heavy with visible chunks of stewed tomato and fragrant oregano.
This isn’t just another weeknight dinner; it is a masterclass in texture and temperature contrast. From the stretchy, bubbly blanket of mozzarella cheese featuring caramelized golden-brown charred spots to the snowfall of finely grated parmesan, every element is designed to satisfy. When you slice into this cutlet, you should see steam rising slightly against the backdrop of a matte grey ceramic dish, just like a high-end bistro experience.
In this guide, we are bridging the gap between “home-cooked” and “chef-quality.” We will dive deep into the science of the panko-parmesan crust and the specific heat management required to get those iconic toasted cheese spots without overcooking the delicate pork loin. Whether you are a fan of traditional pork recipes or looking for a new family favorite, this Pork Parmigiana is the gold standard.
Why This Crispy Pork Parmigiana Recipe Wins Every Time
- The Forensic Crunch: By utilizing a specific ratio of Panko breadcrumbs and finely grated Parmesan, we create a structural “armor” that stays crispy even under a blanket of marinara.
- Unmatched Juiciness: Using center-cut pork loin allows for a thick, steak-like bite that remains succulent while the exterior reaches a deep golden hue.
- The Visual “Char”: We don’t just melt the cheese; we use high-intensity radial heat to create those beautiful, bubbly, toasted brown spots that signal deep flavor.
- Aromatic Finishing: The addition of fresh basil chiffonade and a final dusting of parmesan provides a bright, herbaceous contrast to the rich, savory sauce.
The Ultimate Component List for Crispy Pork Perfection
To achieve the hyper-realistic result seen in professional food photography, every ingredient must serve a specific culinary purpose. We aren’t just looking for “pork” and “cheese”; we are looking for the specific building blocks of flavor and structural integrity.
Center-Cut Pork Loin Cutlets: You need 4 thick cutlets (approx. 6oz (170g) each). The loin provides the necessary thickness for that “white meat” visual contrast against the dark golden crust.
Panko Breadcrumbs: 1.5 cups (90g) are essential for the “shatter-crisp” texture. Standard breadcrumbs are too fine and can become soggy; Panko provides the jagged surface area needed for maximum crunch.
Finely Grated Parmesan: 1/2 cup (45g) for the breading and extra for the “snowfall” garnish. This adds a salty, umami-rich dimension to the crust and creates the visual texture of the garnish.
Low-Moisture Mozzarella: 8oz (225g), sliced or shredded. We avoid fresh mozzarella in water here because we want that stretchy, bubbly melt with those iconic charred spots, which requires a lower water content.
Chunky Marinara Sauce: 2 cups (480ml) of a vibrant red sauce. Look for or make a sauce with visible chunks of stewed tomato and oregano to match the rustic, high-contrast look of the dish.
Fresh Basil Leaves: 1/4 cup (10g) for the chiffonade. The bright green color is non-negotiable for the final visual “pop” against the red sauce.
All-Purpose Flour and Eggs: 1/2 cup (60g) flour and 2 large eggs. These are your “invisible” foundational ingredients that ensure the breading actually sticks to the pork during the frying process.
Neutral Oil for Searing: 1/2 cup (120ml) of grapeseed or vegetable oil. A high smoke point is necessary to achieve that deep golden-brown crust without burning the parmesan in the breading.
Essential Tools for a Professional Finish
Achieving the perfect Pork Parmigiana requires more than just a pan; it requires the right heat conductors. A heavy-bottomed cast iron or stainless steel skillet is preferred for the initial sear to ensure even browning across the entire surface of the cutlet.
You will also need a meat mallet to ensure the pork loin is of uniform thickness, which is the secret to even cooking. Finally, a wire cooling rack set over a baking sheet is vital for the oven-finishing stage; this allows hot air to circulate under the cutlet, keeping the bottom crust from getting soggy while the cheese melts on top.
Your Masterclass in Frying and Melting Pork Parmigiana
Preparing the Loin for Maximum Tenderness
Start by placing your pork loin cutlets between two sheets of plastic wrap. Using the flat side of a meat mallet, gently pound them until they are an even 1/2-inch (1.25cm) thickness.
Season both sides generously with kosher salt and cracked black pepper. This initial seasoning is crucial as it penetrates the meat, ensuring the “juicy, tender” interior described in our visual blueprint.
The Triple-Dredge Engineering
Set up three shallow bowls: one with flour, one with beaten eggs, and one with the Panko-Parmesan mixture. Ensure you add a pinch of dried oregano to the Panko for that aromatic baseline.
Dredge the pork in flour, shake off the excess, dip into the egg wash, and then press firmly into the Panko-Parmesan mix. You want a “heavy” crust, so don’t be afraid to use your hands to pack the breading onto the meat.
Achieving the Deep Golden-Brown Crust
Heat your oil in the skillet over medium-high heat until it shimmers. Carefully lay the cutlets into the pan, working in batches if necessary to avoid crowding, which leads to steaming rather than frying.
Fry for 3-4 minutes per side until you see a “heavy golden-brown crispy” exterior. The sensory cue here is a loud, sizzling sound and a nutty aroma from the toasted parmesan. Remove and place on your wire rack.
The “Bubbly and Charred” Cheese Finish
Spoon a generous “pool” of vibrant marinara sauce over the center of each cutlet, leaving the edges of the crust exposed to maintain the crunch. Top with a thick blanket of mozzarella.
Switch your oven to the broiler setting. Place the baking sheet on the top rack for 2-3 minutes. Watch closely for the “Visual Cue”: the mozzarella must be bubbly, stretchy, and exhibit those specific caramelized golden-brown charred spots.
Expert Tips for Pork Parmigiana Success
- The Temperature Bridge: Ensure your pork is at room temperature for 15 minutes before frying. This prevents the “cold core” issue where the outside burns before the inside is cooked.
- Sauce Management: Do not drown the cutlet. By leaving the perimeter of the breading untouched by sauce, you preserve the forensic texture of the Panko.
- The Chiffonade Technique: Stack your basil leaves, roll them like a cigar, and slice thin ribbons. Only do this at the very last second to prevent the edges from oxidizing and turning black.
- The Resting Period: Let the Pork Parmigiana rest for 3 minutes after the broiler. This allows the cheese to set and the juices in the pork to redistribute, ensuring a “tender white pork” result when sliced.
Practical Advice for Storage and Reheating
Pork Parmigiana is best enjoyed immediately to appreciate the “steam rising” and the contrast of the hot sauce against the crispy crust. However, if you have leftovers, store them in an airtight container in the refrigerator for up to 3 days.
To reheat, avoid the microwave, as it will turn your crispy crust into a soft sponge. Instead, use an air fryer at 350°F (175°C) for 5 minutes or a toaster oven. This will revive the mozzarella’s stretch and bring back some of the initial crunch.
What to Serve With This Italian-American Classic
To balance the richness of the breaded pork and melted cheese, you need sides that offer either acidity or a cooling contrast. A simple arugula salad with a lemon vinaigrette is a classic choice.
If you want to lean into the comfort food aspect, consider pairing this with a side of pasta or even some parmesan crisps for an extra cheese hit. For a truly unique fusion experience, some readers enjoy the contrast of a creamy Hawaiian mac salad on the side. If you’re hosting a dinner party, start the meal with pork bites with creamy bell pepper sauce as an appetizer to keep the theme consistent.
Frequently Asked Questions
While you can, pork loin is preferred for Parmigiana because its uniform shape allows for even cutlets that withstand the heavy breading and broiling better than the more delicate tenderloin.
Use the broiler setting on high for a short duration (2-3 minutes) and ensure the pork is placed on the top rack. This provides intense radial heat to the cheese while the meat remains protected.
The secret is the ‘dry-wet-dry’ method (flour, egg, panko) and letting the breaded cutlets rest for 5-10 minutes before frying to allow the starch to hydrate and bond.
Panko has a larger, airier surface area that doesn’t absorb as much oil, resulting in a significantly crunchier crust that stays firm even when topped with marinara sauce.
The Master Recipe for Pork Parmigiana
Pork Parmigiana: The Ultimate Crispy and Cheesy Loin Cutlet Guide
Ingredients
Equipment
Method
- Pound pork loin cutlets to 1/2-inch thickness. Season with salt and cracked black pepper.
- Dredge each cutlet in flour, then egg, then the panko-parmesan mixture, pressing firmly to adhere.
- Heat oil in skillet. Fry cutlets until a heavy golden-brown crispy crust forms, about 3-4 minutes per side.
- Place cutlets on a wire rack. Top with marinara and mozzarella. Broil until cheese is bubbly with charred spots.
- Finish with fresh basil chiffonade, a snowfall of parmesan, and extra black pepper before serving.
Notes
Ensure the oil is hot (shimmering) before adding the pork to prevent oil absorption.
Bring the Bistro Home with Pork Parmigiana
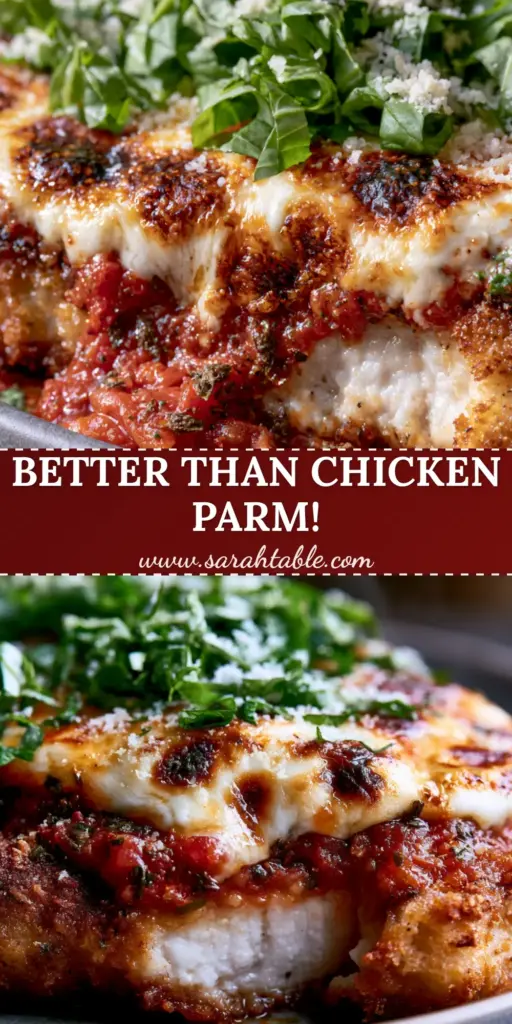
Mastering the Pork Parmigiana is a rite of passage for any home cook looking to elevate their dinner game. It is a dish that appeals to every sense: the sight of the vibrant red sauce and charred cheese, the sound of the crunch, and the incredible savory aroma of oregano and toasted parmesan.
We invite you to try this technique-driven approach and see the difference that professional culinary logic makes. If you enjoyed this recipe, please leave a comment below and share your results! Don’t forget to follow us on Pinterest for more visually stunning recipe inspiration.