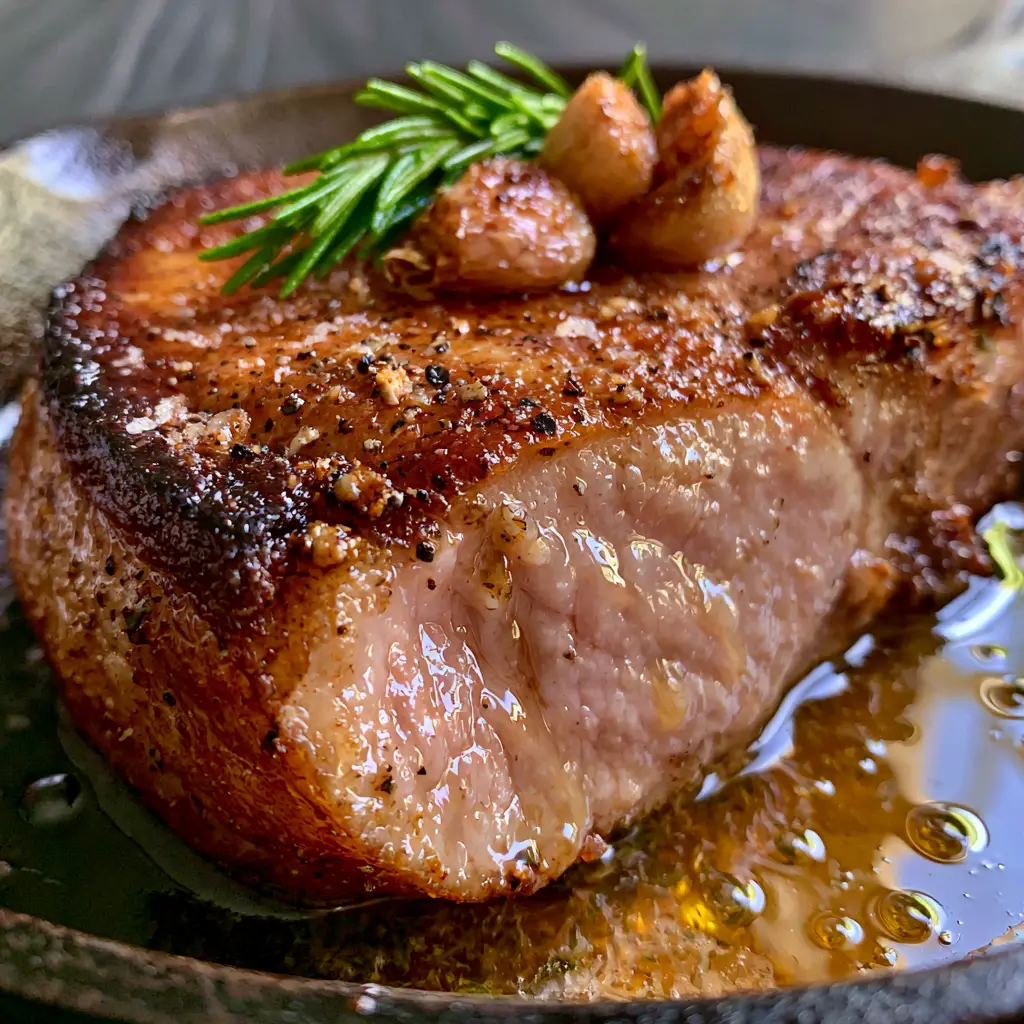
When searching for the gold standard of pork recipes, most home cooks are chasing a specific, elusive sensory experience: that shatteringly crisp, golden-brown crust yielding to a center so moist it practically weeps juices when sliced. This isn’t just a meal; it is a masterclass in Maillard reaction chemistry and heat management. If you have ever been disappointed by a dry, grey, or tough chop, this recipe is designed to change your culinary perspective forever.
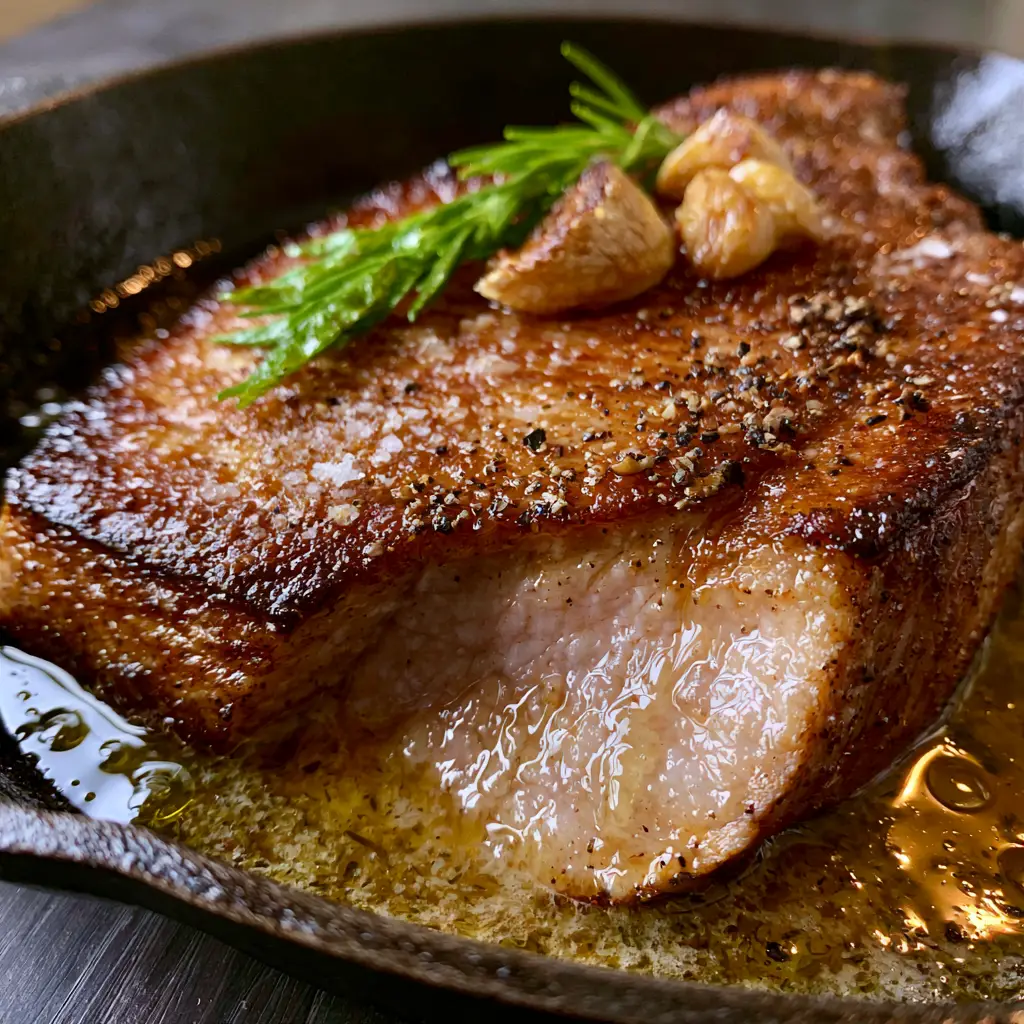
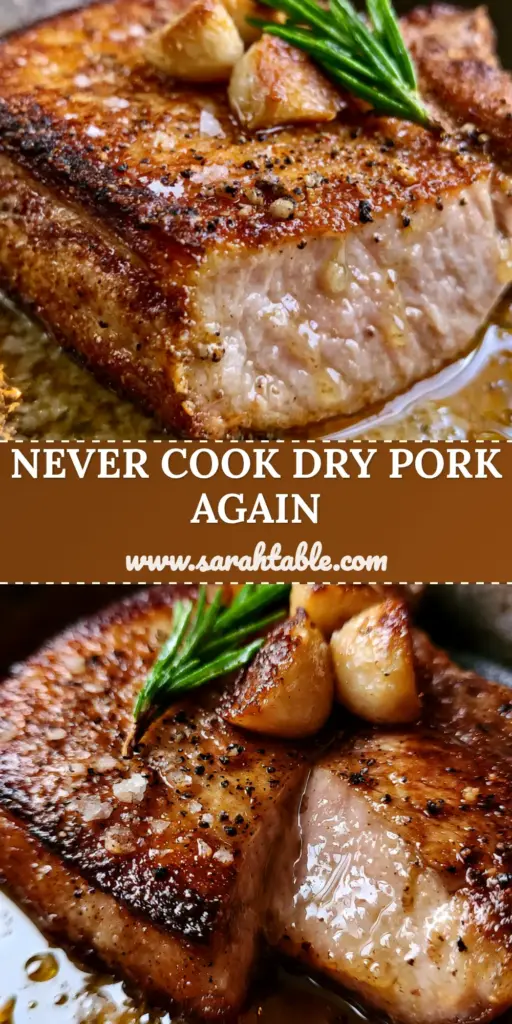
We are moving beyond the basic “shake and bake” methods and into the realm of professional pan-searing. Imagine a thick-cut bone-in chop resting in a seasoned cast iron skillet, surrounded by a shimmering, amber pool of melted herb butter. On top sits a sprig of flash-fried rosemary and cloves of roasted, smashed garlic that have surrendered their pungent bite for a mellow, nutty sweetness. This is the pinnacle of what pork recipes can achieve when technique meets premium ingredients.
The Anatomy of a Perfect Pan-Seared Pork Chop
To achieve the visual and textural perfection seen in high-end steakhouses, we must focus on four critical pillars of pork cookery. This recipe isn’t just about heat; it’s about the marriage of fat, aromatics, and precise timing. Here is what makes this specific entry in our collection of pork recipes stand out:
- The Crust: A deep, golden-brown caramelized exterior achieved through high-initial-heat searing and a perfectly dry meat surface.
- The Interior: A moist, pale-pink center that remains at the ideal safety temperature of 145°F (63°C), ensuring the protein fibers remain succulent rather than stringy.
- The Aromatics: Flash-fried fresh rosemary and smashed garlic cloves that infuse the basting butter with earthy, woodsy notes.
- The Finish: Flaky sea salt and cracked black peppercorns that provide a rhythmic crunch against the tender meat.
Essential Ingredients for Steakhouse-Quality Pork
Every ingredient in this recipe serves a dual purpose: providing structural integrity to the dish and creating the complex flavor profile that characterizes elite pork recipes. Using the right fats and seasonings is just as important as the meat itself.
Thick-Cut Bone-In Pork Chops (1.5 inches / 3.8cm): A thick cut is non-negotiable for achieving a hard sear without overcooking the center. The bone acts as an insulator, keeping the meat nearest to it incredibly tender.
Kosher Salt and Coarse Black Pepper: Large grains are essential for building that signature crust. Fine table salt will dissolve too quickly, whereas coarse grains provide the “grip” needed for the Maillard reaction to thrive.
High-Smoke Point Oil (2 tbsp / 30ml): Use avocado oil or grapeseed oil for the initial sear. Unlike butter, these oils won’t burn at the high temperatures required to caramelize the pork’s surface.
Unsalted European-Style Butter (4 tbsp / 56g): European butter has a higher fat content and lower water content than standard butter. This leads to a richer, nuttier “browning” effect during the basting phase.
Fresh Rosemary Sprigs: Fresh herbs are mandatory here. When rosemary hits the hot butter, it fries instantly, becoming a crispy, edible garnish while releasing its essential oils into the sauce.
Fresh Garlic Cloves (3-4 large): We smash these rather than mincing them. Smashed garlic releases its flavor slowly into the butter without burning, which would otherwise turn the sauce bitter.
Flaky Sea Salt: This is our finishing touch. These delicate pyramids of salt catch the light and provide a final burst of salinity that cuts through the richness of the butter sauce.
Must-Have Tools for the Ultimate Sear
To replicate the results of the best pork recipes, you need the right conductivity. Thin, non-stick pans simply cannot hold the thermal mass required to create a professional crust.
Cast Iron Skillet (10-12 inch): Cast iron is the king of heat retention. Once it gets hot, it stays hot, which is vital when you drop a cold piece of meat onto its surface.
Digital Instant-Read Thermometer: Cooking by time is a recipe for disaster. An instant-read thermometer is the only way to guarantee that moist, pale-pink center every single time.
Long-Handled Metal Tongs: You need control when flipping the meat and when holding it on its side to render the fat cap. Metal tongs provide the necessary grip and heat resistance.
Large Metal Spoon: This is your tool for “arroser,” or the French technique of butter basting. A large spoon allows you to continuously shower the pork with hot, herb-infused fat.
Mastering the Perfect Sear: A Step-by-Step Guide
The secret to great pork recipes often lies in the preparation before the pan even touches the stove. Follow these steps meticulously to ensure your visual result matches the amber-glistening masterpiece described in our blueprint.
Step 1: The Dry Brine and Tempering
Remove your chops from the refrigerator at least 30 minutes before cooking. Pat them bone-dry with paper towels on all sides; moisture is the enemy of a good sear. Season aggressively with kosher salt and cracked black pepper, pressing the spices into the meat fibers.
Step 2: The Initial Hard Sear
Heat your cast iron skillet over medium-high heat until the oil begins to shimmer and just starts to whisps of smoke appear. Carefully lay the pork chops into the pan, laying them away from you to avoid oil splashes. Do not move them for 3-4 minutes. You are looking for a deep, golden-brown caramelized crust to form.
Step 3: Rendering the Fat Cap
Using your tongs, pick up the chops and hold them upright on their sides, pressing the white fat strip against the hot pan. This renders the fat, making it crispy and golden rather than rubbery. This is a hallmark of professional pork recipes.
Step 4: The Butter Baste (The Flavor Infusion)
Flip the chops. Immediately reduce the heat to medium and add the butter, smashed garlic cloves, and rosemary sprigs. As the butter melts and begins to foam, tilt the pan slightly and use your spoon to continuously pour the hot, bubbling butter over the pork. You will see the rosemary turn a bright, translucent green and the garlic go golden.
Step 5: The Rest and Carry-Over Cooking
Once your thermometer hits 140°F (60°C), remove the chops from the pan and place them on a warm plate. Pour the remaining butter sauce over them. Let them rest for 8-10 minutes. The internal temperature will rise to 145°F (63°C), and the juices will redistribute, resulting in that glistening, moist interior.
Expert Tips for Success with Thick-Cut Pork
- Don’t Fear the Pink: Modern food safety standards confirm that 145°F (63°C) is perfectly safe for pork. A slight pale-pink hue is the sign of a juicy, expertly cooked chop.
- Dryness is Key: If the meat is wet, it will steam instead of sear. Use multiple paper towels to ensure the surface is as dry as possible.
- Watch the Garlic: If the garlic starts to turn dark brown or black, move it on top of the pork chop to shield it from the direct heat of the pan.
- Season High: Sprinkle your salt from about 12 inches above the meat to ensure even distribution and prevent “salt pockets.”
Storage, Reheating, and Freezing
While most pork recipes are best enjoyed fresh from the pan, you can store leftovers in an airtight container for up to 3 days. To reheat, avoid the microwave, which will turn the meat rubbery. Instead, place the chop in a skillet with a splash of water or broth, cover with a lid, and warm over low heat until just heated through.
Freezing is possible but not recommended for the best texture. If you must, wrap the cooled chop tightly in plastic wrap and then foil. It will keep for up to 2 months. Thaw completely in the refrigerator before reheating.
What to Serve with Garlic Butter Pork
The richness of the herb butter sauce requires sides that can either soak up the juices or provide a bright, acidic contrast. For a full comfort meal, consider these pairings from our library of pork recipes and sides:
Start your morning with hearty breakfast recipes if you have leftover pork to dice into a hash. For dinner, this chop pairs beautifully with a side of creamy Hawaiian mac salad or a crisp pork parmigiana style salad. If you’re looking for more global inspiration, our classic Cuban roast pork techniques can help you master different flavor profiles. For something lighter, try these high-protein vegetarian meals as side dishes to balance the plate.
Frequently Asked Questions
It is not recommended. Non-stick pans cannot safely reach or maintain the high temperatures needed for a professional crust. Cast iron or stainless steel provide the thermal mass necessary for the Maillard reaction to occur effectively.
While a wet brine is an option, this recipe uses a ‘dry brine’ method. By seasoning with salt 30 minutes before cooking and leaving the meat uncovered, the salt draws out moisture, dissolves into a brine, and is reabsorbed, seasoning the meat deeply while keeping the surface dry for a better sear.
Yes. According to the USDA, pork is safe to consume once it reaches an internal temperature of 145°F (63°C) followed by a three-minute rest. At this temperature, the meat will often have a pale-pink hue and remain much juicier than ‘well-done’ pork.
Butter basting, or ‘arroser,’ adds rich flavor, helps cook the top surface of the meat evenly, and allows the aromatics (garlic and rosemary) to infuse the pork. The foaming butter also helps create a more complex, nutty crust.
Toughness usually results from overcooking or using cuts that are too thin. Thick-cut chops (at least 1.5 inches) allow you to sear the outside deeply without drying out the interior. Always use an instant-read thermometer to pull the meat off the heat at 140°F.
The Ultimate Pan-Seared Garlic Butter Pork Chop Recipe
Pork Recipes Excellence: The Ultimate Pan-Seared Thick-Cut Garlic Butter Pork Chop
Ingredients
Equipment
Method
- Remove pork chops from the fridge 30 minutes prior to cooking. Pat completely dry with paper towels to ensure a golden crust.
- Season both sides aggressively with kosher salt and coarse black pepper, pressing the seasoning into the meat.
- Heat oil in a cast iron skillet over medium-high heat until shimmering. Sear chops for 3-4 minutes without moving until a deep golden-brown crust forms.
- Use tongs to hold chops on their side, pressing the fat cap into the pan until crispy and rendered.
- Flip chops and reduce heat to medium. Add butter, smashed garlic, and rosemary. Spoon foaming butter over the meat for 3-4 minutes.
- Remove from pan at 140°F (60°C). Let rest for 8-10 minutes on a plate to reach final 145°F (63°C) and lock in juices.
Notes
European butter provides a superior nutty flavor during the basting phase.
Closing & Call to Action
Mastering pork recipes like this pan-seared thick-cut chop is a foundational skill that will elevate your home cooking to restaurant levels. The combination of a hard sear and a delicate butter baste creates a profile that is both rustic and refined. If you enjoyed this recipe, please leave a comment below or share your results on social media!
Don’t forget to follow me on Pinterest for more culinary inspiration and visual recipe guides. Happy cooking!